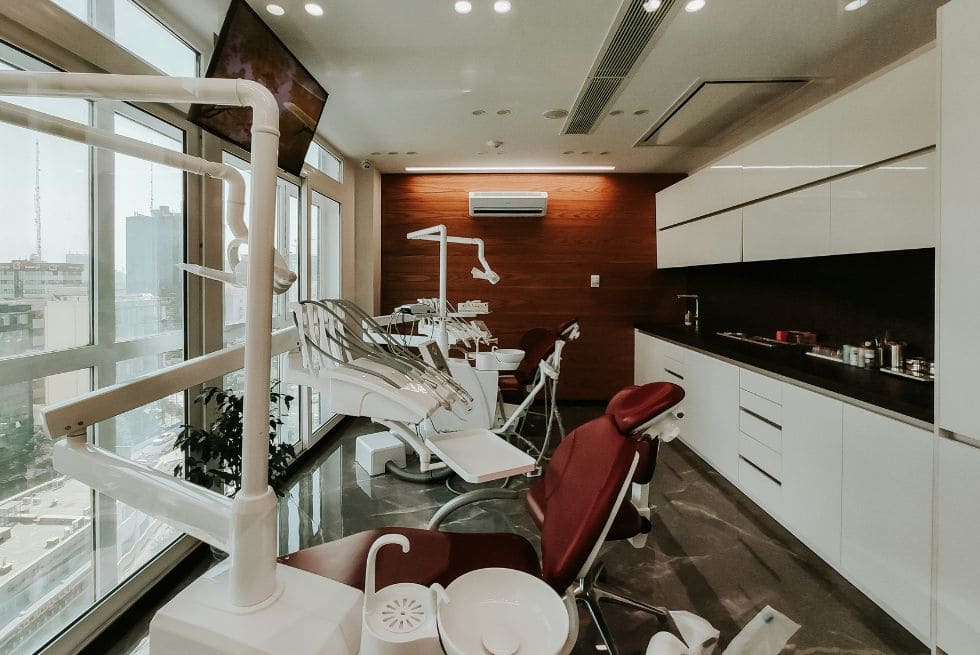
Installing a dental chair is a critical process that requires careful planning and attention to detail to ensure it operates safely and efficiently. The following step-by-step guide will help you through the installation:
Prepare the Installation Site
- Assess the Space: Ensure the room is spacious enough to accommodate the dental chair and allow for free movement around it. Consider the dental chair’s dimensions, including its length and width when fully extended.
- Flooring: Make sure the flooring is level and sturdy enough to support the weight of the dental chair. Concrete floors are ideal, but if you have another type of flooring, ensure it is reinforced.
- Electrical and Plumbing: Ensure that the necessary electrical outlets and plumbing connections are in place. Most dental chairs require a 220V power supply and proper water and drainage lines.
Unpack the Dental Chair
- Carefully Unbox: Carefully unpack the dental chair components to avoid any damage. Check the contents against the manufacturer's packing list to ensure all parts are included.
- Inspect for Damage: Before proceeding with the installation, inspect all components for any signs of damage during shipping.
Tip: If purchased from Istar, please contact us immediately if there is any damage or missing parts.

Assemble the Chair
- Follow Manufacturer's Instructions: Begin assembling the chair according to the manufacturer’s instructions. This typically involves attaching the base, seat, backrest, armrests, and headrest.
- Secure Components: Ensure all components are securely fastened. Use the provided screws and bolts, and tighten them according to the specifications in the manual.
- Install Accessories: Attach any additional components, such as the dental light, instrument trays, and foot controls, following the instructions provided.
Connect Electrical and Plumbing
- Electrical Connection: Connect the dental chair to the power supply. Ensure the wiring is correctly installed and that all connections are secure.
- Plumbing Connection: Connect the dental chair to the water supply and drainage system. This may involve attaching hoses for the water supply, suction, and drainage lines.
Test the Dental Chair
- Power On: After making all the connections, power on the dental chair and check that all electrical components are functioning correctly, including the lights, motorized movements, and any other integrated equipment.
- Check Movements: Test the chair’s adjustments, such as the recline, height adjustment, and headrest positioning, to ensure smooth and correct operation.
- Plumbing Test: Run water through the system and check for any leaks. Ensure the suction system is working properly and that the water drains correctly.
Final Adjustments
- Calibrate the Chair: If necessary, calibrate the chair’s movements to match your specific requirements.
- Adjust Positioning: Position the dental chair in the room so that it is easily accessible from all sides and aligns well with other equipment, such as the dental unit and overhead lights.
- Secure in Place: If required, secure the dental chair to the floor using bolts or other fastening methods recommended by the manufacturer.
Post-Installation Inspection
- Conduct a Safety Check: Inspect all connections and fastenings to ensure they are secure. Verify that all electrical components are functioning properly and that there are no leaks in the plumbing.
- Train Staff: Instruct your staff on the operation of the chair, including adjustments and safety features.
Regular Maintenance
- Schedule Maintenance Checks: Regularly inspect the dental chair to ensure it remains in good working condition. This includes checking the electrical connections, plumbing, and moving parts.
- Keep a Maintenance Log: Record all inspections and maintenance work in a log for future reference.
By following these steps, you can ensure a smooth and successful installation of your dental chair, laying the foundation for a functional and efficient dental clinic.