Digital Workflow in the Dental Lab: A Complete Guide for Modern Practices
What You Will Learn
Digital tools make dental labs run faster. This guide will show you:
- How computers help make teeth
- Ways to save time and money
- Steps to start using digital tools
Let's see why so many labs are using computers now!
1. What Is a Digital Dental Lab Workflow?
A digital workflow means using computers to make teeth parts. It helps labs work better and faster.
Old Way vs. New Way
Old Way:
- Make molds with goop
- Use hands to shape teeth
- Lots of mess and waiting
New Way:
- Use scanners to take pictures of teeth
- Let computers help design teeth
- Make teeth with machines
Digital workflows are making labs 50% faster at making teeth for implants. That means you can help more patients each day!
2. Main Parts of a Digital Dental Lab
To work the digital way, you need these main tools:
Mouth Scanners
These are special cameras that take 3D pictures inside the mouth. They replace the goopy stuff patients hate. They are 99% accurate too!
You can see these intraoral scanners with screens that make getting teeth pictures easy.
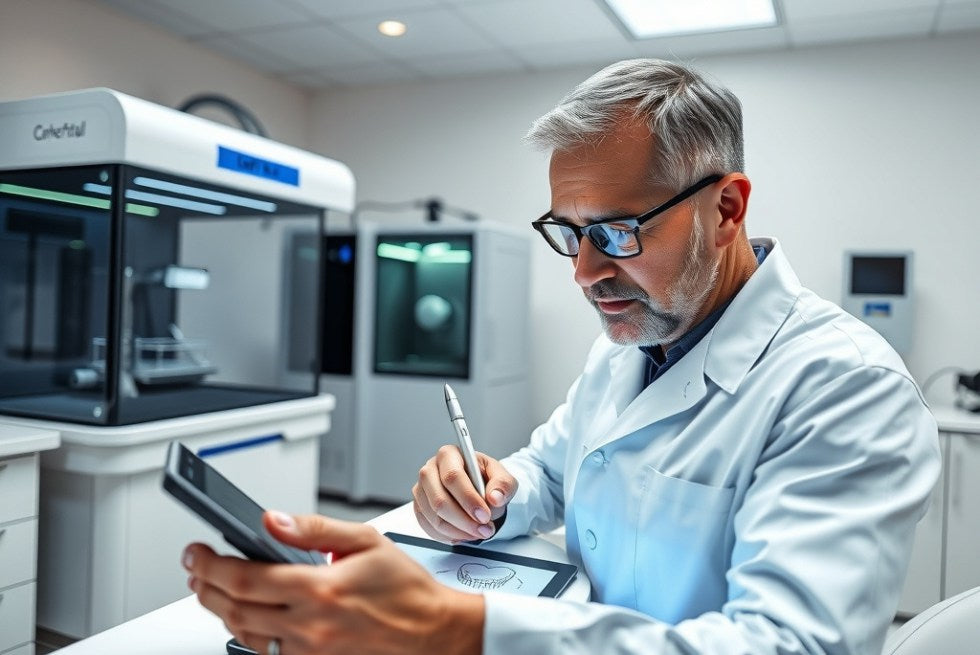
CAD/CAM Systems
CAD means "Computer Aided Design." CAM means "Computer Aided Manufacturing." Together, they help you:
- Design new teeth on a computer screen
- Send designs to machines that make the teeth
Popular CAD software includes:
- Exocad
- 3Shape
- Ivoclar Vivadent
3D Printers
These amazing machines build teeth parts layer by layer. They can make:
- Guides for surgery
- Models of teeth
- Dentures
- Night guards
Check out these dental 3D LCD printers that many labs are using now.
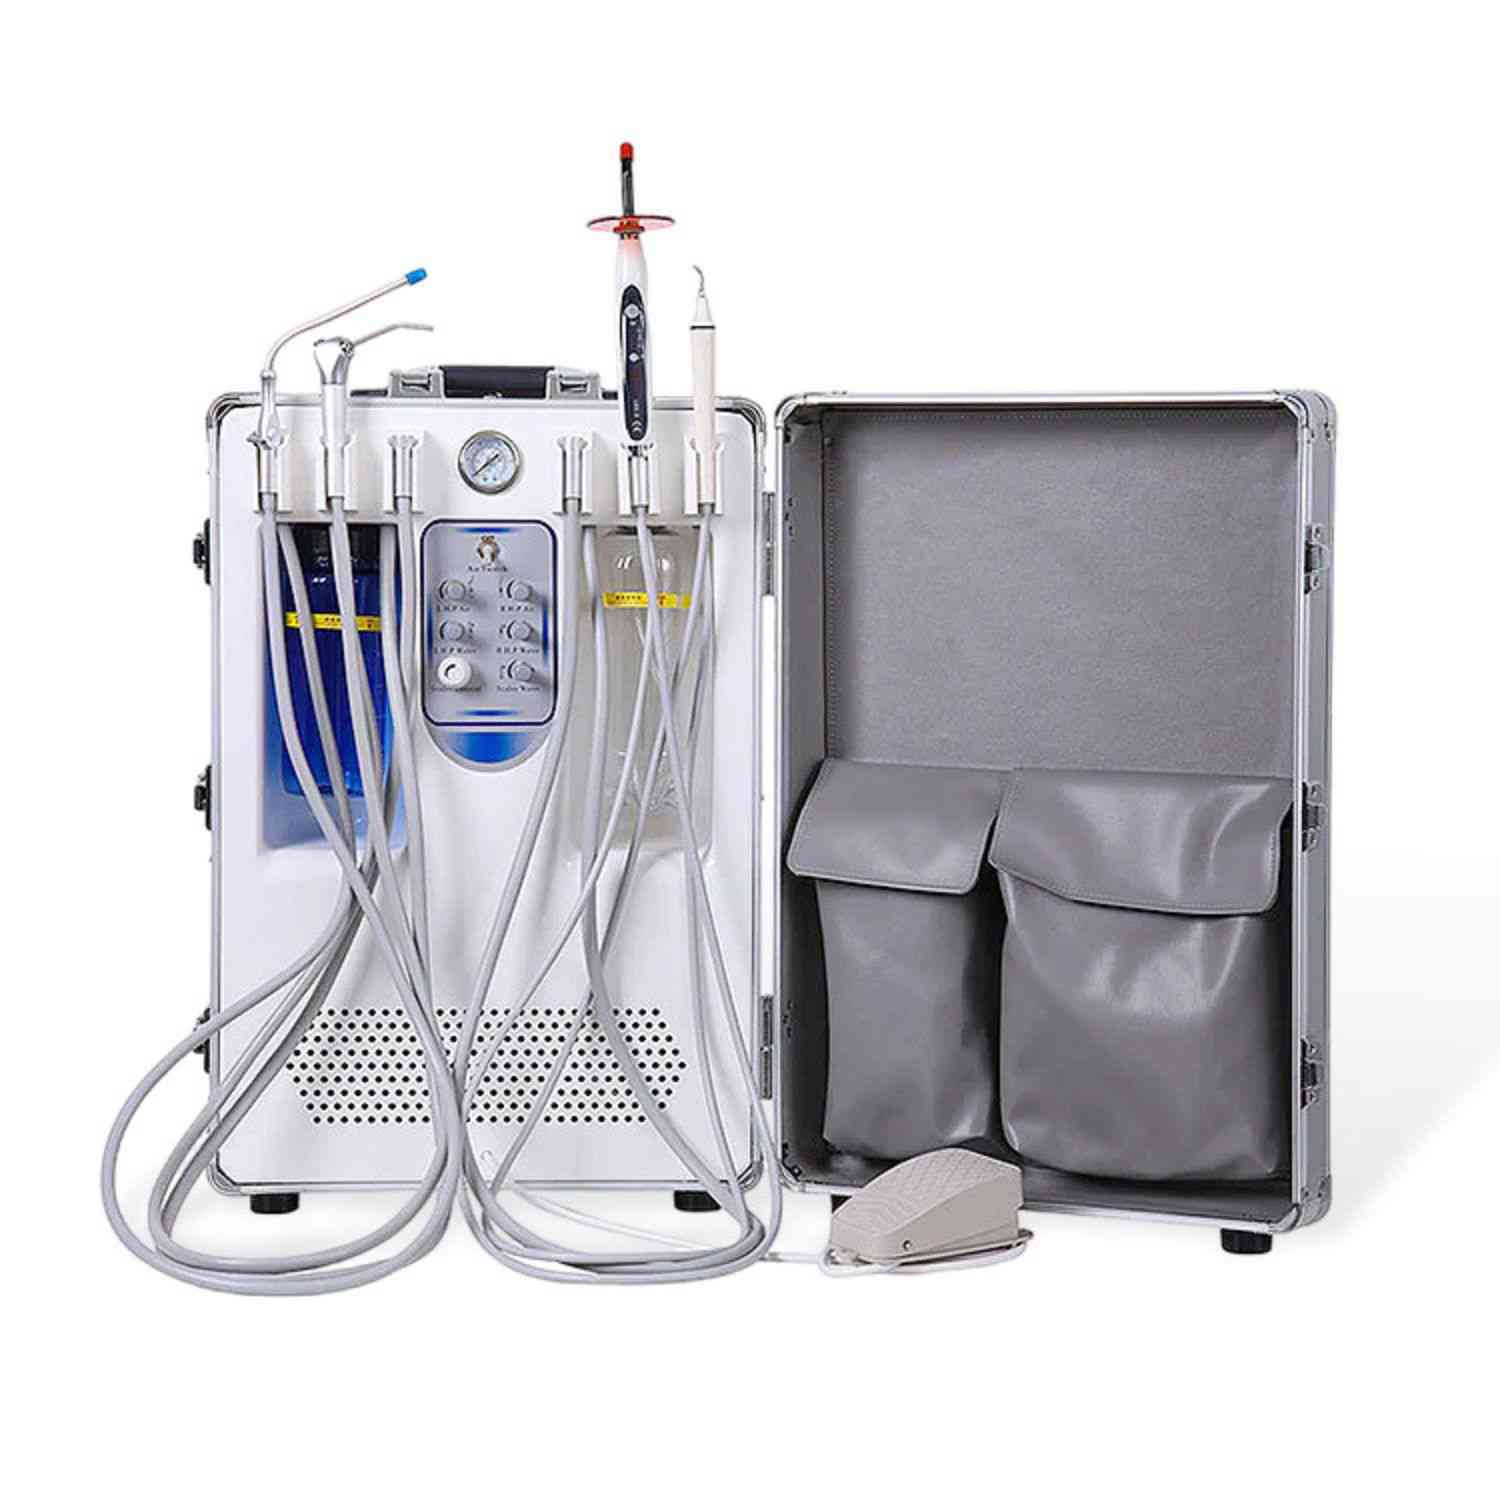
Cloud Tools
These let dentists and labs talk to each other online. They can share files and pictures without waiting for mail. This makes cases get done 24-48 hours faster!
3. Step-by-Step Digital Workflow
Here's how digital work happens in a dental lab:
Step 1: Get Digital Tooth Pictures
The dentist uses a scanner to take 3D pictures of the patient's teeth. These scanners (like Medit or TRIOS) make files the lab can use on the computer.
No more broken models in the mail!
Step 2: Design New Teeth
The lab uses CAD software to design the new teeth on a computer. You can:
- Make the teeth the right size
- Make sure they fit with other teeth
- Check how teeth touch when biting
Step 3: Make the Teeth
Two main ways to make the designs into real teeth:
Milling Machines
- Cut the tooth out of a block of material
- Good for zirconia crowns that are very strong
- Makes teeth that last a long time
3D Printing
- Builds the tooth layer by layer
- Good for models and guides
- Makes things that would be hard to mill
Labs with lab scanners can scan models and work on designs faster.
Step 4: Finish the Teeth
After the machine makes the basic shape, you:
- Polish to make it shine
- Add color to match other teeth
- Bake some materials to make them strong
Step 5: Check Quality
Use computer tools to make sure the teeth will:
- Fit in the mouth right
- Touch other teeth correctly
- Look like real teeth

4. Good Things About Digital Workflows
Digital dental work has many good points:
More Exact
Computers are more exact than hands. This means:
- Crowns fit better
- Less need to fix things
- Happier patients
Studies show that digital crowns made of zirconia last for 5 years with 98% success!
Faster Work
Digital tools make work faster:
- Make dentures 70% faster
- Finish crowns in one day
- Send designs online instantly
Save Money
After the first big cost, you can save:
- 30% less material used
- Less time fixing mistakes
- Less shipping costs
Custom Solutions
Make things that fit each patient perfectly:
- Guides for putting in implants (95% success rate)
- Teeth that match patient's face
- Dentures that fit better
5. Problems and How to Fix Them
Starting with digital tools can be hard:
Big First Cost
Digital tools cost a lot at first:
- Scanners: $15,000-$35,000
- CAD Software: $2,000-$5,000 per year
- 3D Printers: $5,000-$20,000
But you save money after 1-2 years!
Learning New Skills
It takes time to learn digital tools:
- 60% of labs say work gets slower at first
- Takes 6-12 months to get fast
- Need good training
Fix it: Start with one tool and learn it well before adding more.
Mixing Old and New
Most labs need to use both ways for a while:
- Some jobs work better the old way
- Not all dentists send digital files
- Some materials still need hand work
6. Real Stories of Success
Story 1: Full Dentures Made Faster
One lab cut denture time from 5 visits to just 2 visits using digital design. Patients were much happier!
Story 2: Pretty Front Teeth
A lab made 20 veneers (front teeth covers) that fit so well, the dentist didn't need to make any changes. The patient loved how they looked!
Story 3: Safe Implant Surgery
A dental team used 3D printed guides to put in implants for a patient missing all teeth. All implants worked perfectly because the guide made sure they went in the right spots.
7. What's Coming Next
The digital dental world keeps getting better:
Smart Design Help
Soon, computers will suggest the best tooth designs based on:
- How the patient bites
- What looks best
- What has worked for other patients
Less Waste
Digital tools help save materials:
- Use only what you need
- Fix designs before making them
- Recycle some materials
Working From Anywhere
New tools let dental pros work together from different places:
- Send scans from the dentist right away
- Design teeth from home
- Get doctor approval online

8. How to Start Your Digital Journey
Follow these steps to go digital in your lab:
First Steps
- Try one scanner or design software
- Get training from the company
- Start with simple cases
- Add more tools as you learn
What to Buy First
A good order to buy digital tools:
- Scanner to get digital models
- CAD software to design
- 3D printer for models
- Milling machine for final teeth
Consider starting with 3D dental intraoral scanners to get the most accurate tooth pictures.
9. Digital Tools Comparison
Here's how different digital tools compare:
| Tool | Cost | What It's Good For | Learning Time |
|---|---|---|---|
| Intraoral Scanner | $15,000-$35,000 | Taking tooth pictures, replacing goop | 2-4 weeks |
| Lab Scanner | $10,000-$25,000 | Scanning models in the lab | 2-3 weeks |
| CAD Software | $2,000-$5,000/year | Designing all kinds of teeth | 1-3 months |
| 3D Printer | $5,000-$20,000 | Models, guides, temp teeth | 2-4 weeks |
| Milling Machine | $30,000-$100,000 | Final crowns, bridges | 1-2 months |
| Cloud Platform | $50-$200/month | Sharing files with dentists | 1-2 weeks |
10. Success Tips From Experts
Follow these tips from labs that went digital:
- Start small: Begin with one digital step
- Get training: Learn from the company that sells the tools
- Practice a lot: Do test cases before real patients
- Find a mentor: Talk to other labs using digital tools
- Join groups: Share tips with other digital dental labs
Final Thoughts
Digital workflows are changing dental labs for the better. They help make better teeth in less time with less waste.
The first steps can be hard, but the good things make it worth it. Start small, learn well, and keep adding new tools as you go.
Remember: Even the biggest digital labs started with just one digital tool!
Want to learn more about dental equipment? Check out our complete dental equipment guide for more tips and tools.