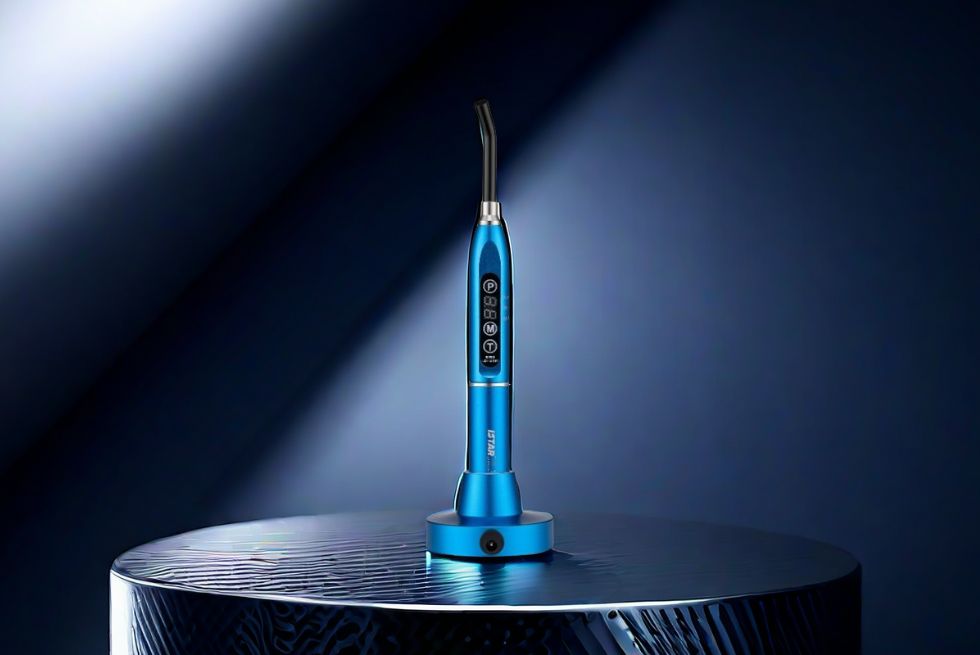
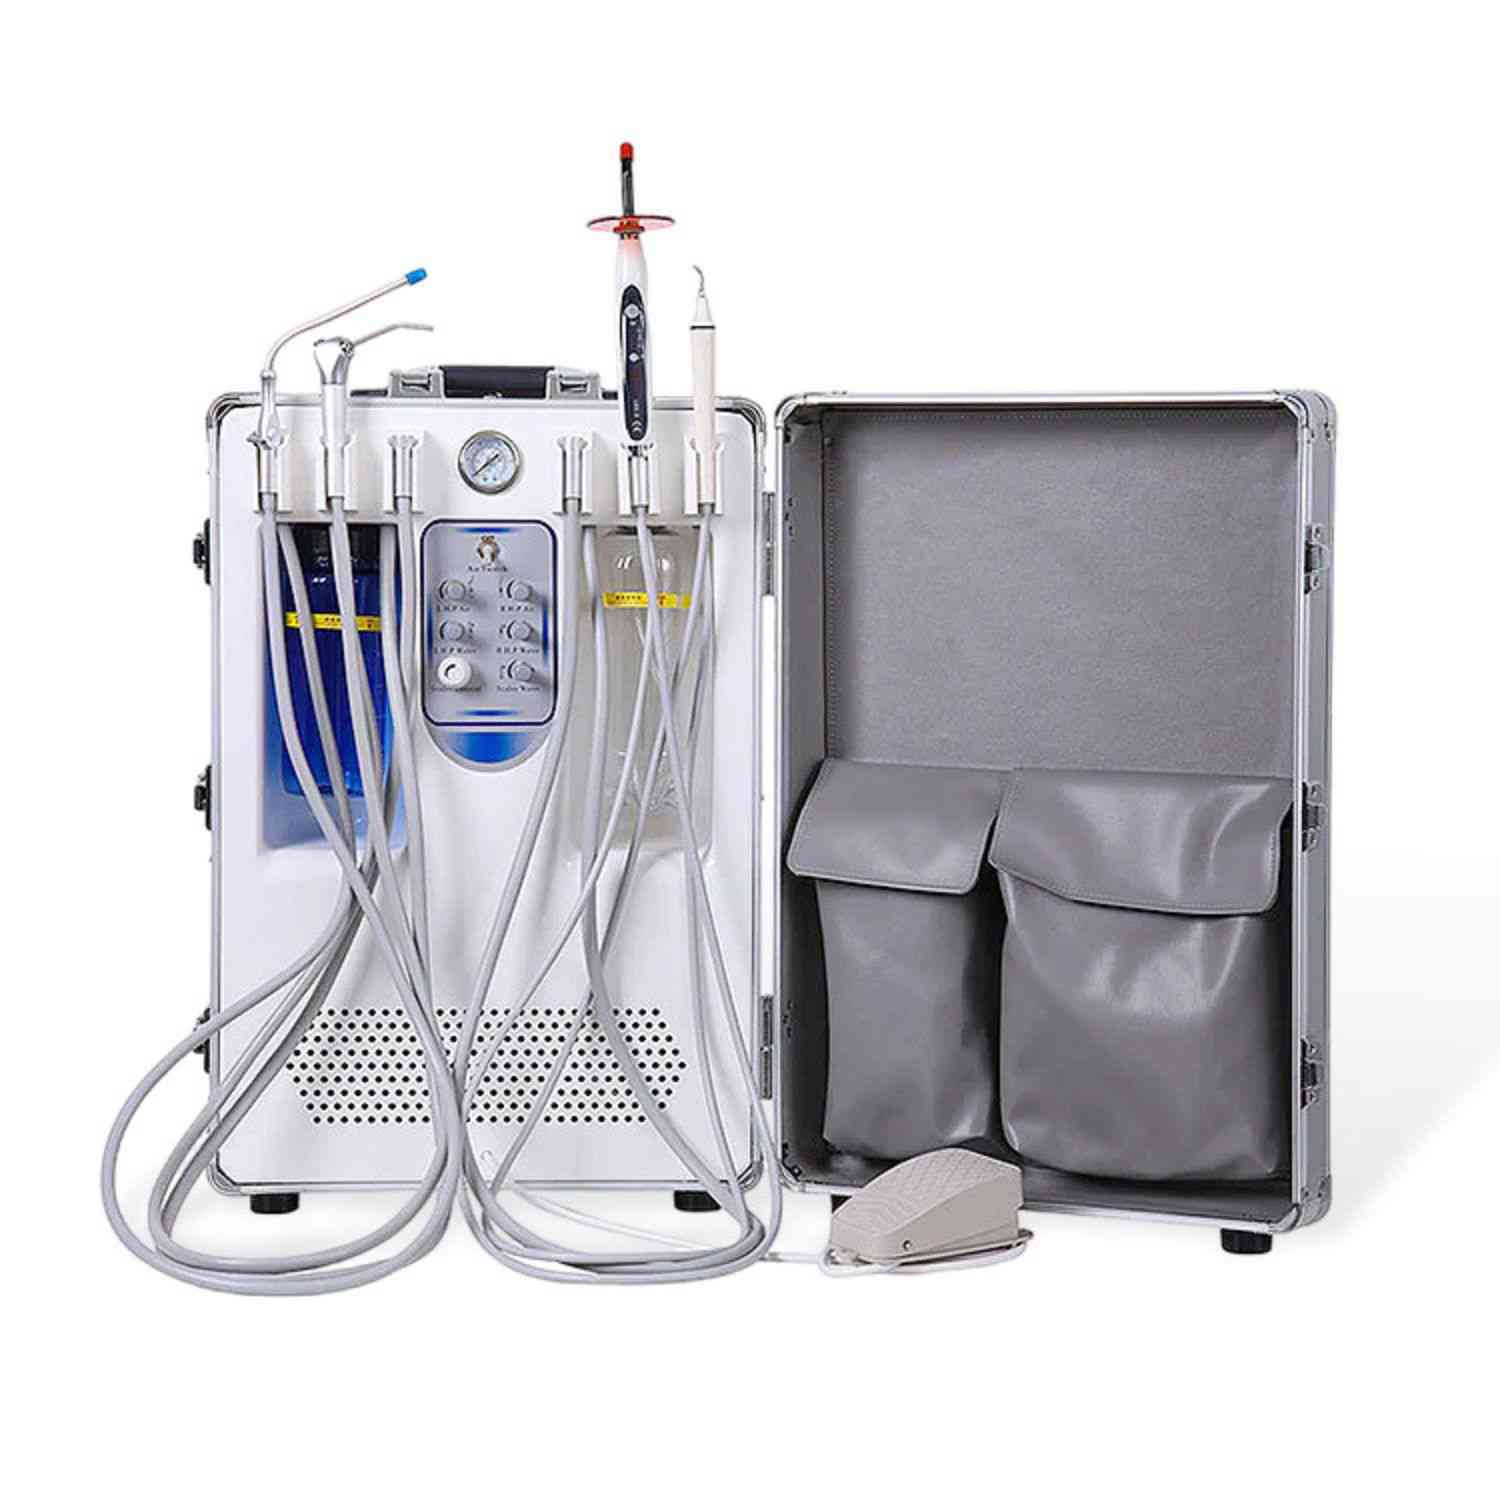
Dental curing lights are vital tools in modern dentistry, used to harden or cure dental materials quickly and efficiently. Ensuring these tools are in perfect working condition is crucial for delivering high-quality patient care.
This article provides an in-depth guide on repairing and maintaining dental curing lights to ensure their longevity and optimal performance.
Understanding the Importance of Dental Curing Lights
Dental curing lights play a critical role in various dental procedures, including bonding, sealing, and filling.
These devices utilize high-intensity light to polymerize resin-based composites and other light-curable materials.
Any malfunction in the dental curing light can compromise the quality of dental work, leading to potential patient dissatisfaction and increased operational costs.
Common Issues with Dental Curing Lights
Identifying common issues with dental curing lights can help in diagnosing problems quickly. Some frequent problems include:
- Power Failure: Issues with the power source or battery.
- Light Intensity Reduction: Diminished light output due to LED or bulb issues.
- Overheating: Malfunctioning cooling fans or ventilation problems.
- Intermittent Operation: Loose connections or internal component failures.
Basic Troubleshooting Steps
Before diving into complex repairs, perform some basic troubleshooting steps:
1. Check the Power Source:
- Ensure the dental curing light is properly connected to the power source or that the battery is fully charged.
- Test the device with a different power outlet.
2. Inspect the Light Guide:
- Examine the light guide for any visible damage or cracks.
- Clean the light guide using alcohol wipes to remove any debris or residue.
3. Verify the Bulb or LED:
- If your dental curing light uses a traditional bulb, check if it needs replacement.
- For LED lights, ensure all LEDs are functioning. Replace any non-functioning LEDs.
4. Check the Cooling Fan:
- Confirm that the cooling fan is working to prevent overheating.
- Clean any dust or debris from the fan area to ensure proper ventilation.

Advanced Troubleshooting Techniques
For more complex issues, consider these advanced troubleshooting techniques:
1. Inspect Internal Components:
- Carefully open the dental curing light if you have experience with electronics.
- Look for loose connections, burnt components, or broken wires.
2. Test the Circuit Board:
- Use a multimeter to test the circuit board for continuity and voltage issues.
- Replace any damaged components if you have the technical expertise.
3. Software Issues:
- Some advanced dental curing lights have integrated software. Check the manufacturer’s website for firmware updates or troubleshooting guides.
When to Seek Professional Help
If the troubleshooting steps do not resolve the issue, or if you are not comfortable with electronic repairs, it is advisable to seek professional help.
Contact the manufacturer or an authorized service center for repair. Ensure to check if the dental curing light is under warranty to avoid unnecessary costs.
Preventive Maintenance Tips
Regular maintenance can extend the life of your dental curing light and prevent future issues:
- Regular Cleaning: Clean the light guide and other components regularly to prevent debris buildup.
- Proper Storage: Store the light cure dental tool in a safe, dry place to protect it from damage.
- Follow Manufacturer Instructions: Adhere to the manufacturer's guidelines for usage and maintenance.
Upgrading Your Dental Curing Light
Sometimes, repairs may not be sufficient, and upgrading your dental curing light may be necessary. Consider the following when upgrading:
- Latest Technology: Look for dental curing lights with the latest technology for improved performance and efficiency.
- Energy Efficiency: Opt for energy-efficient models to reduce operational costs.
- Durability and Warranty: Choose a durable model with a comprehensive warranty for long-term reliability.
Conclusion
Maintaining and repairing dental curing lights is crucial for ensuring the quality of dental care.
By understanding common issues, performing basic and advanced troubleshooting, and adhering to preventive maintenance tips, you can extend the lifespan of your light cure dental tools and ensure their optimal performance.
When necessary, seek professional help or consider upgrading to the latest models to stay ahead in the ever-evolving field of dentistry.

