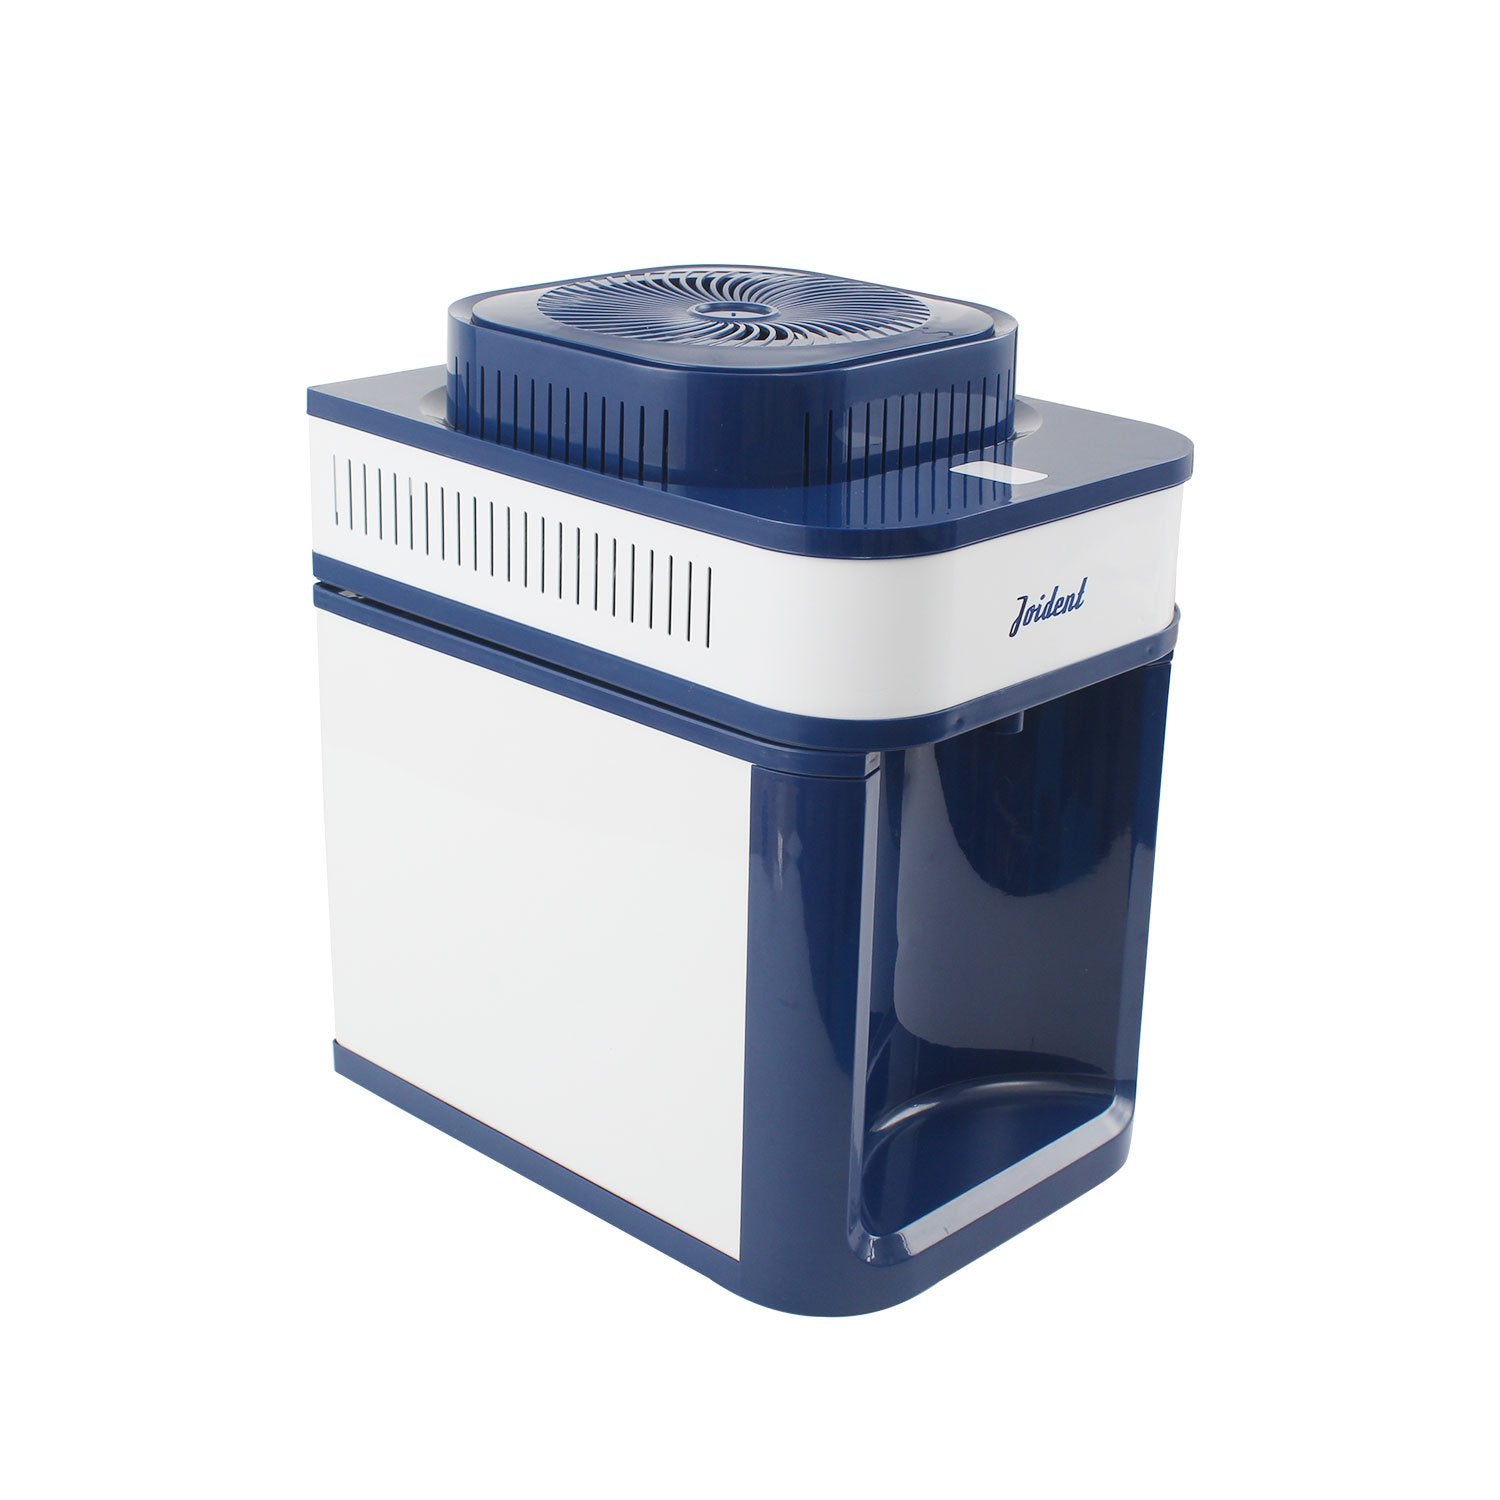
Features:
1. 3-Colour Working Indicator Light
The dental water distiller is equipped with a three-colour working indicator light, which easily shows the working status of the machine, including running, standby and completion, etc. It is clear at a glance, which is convenient for the user to grasp the status of the device at any time, and enhance the experience of using it.
2. Medical Grade 304 Stainless Steel Inner Liner
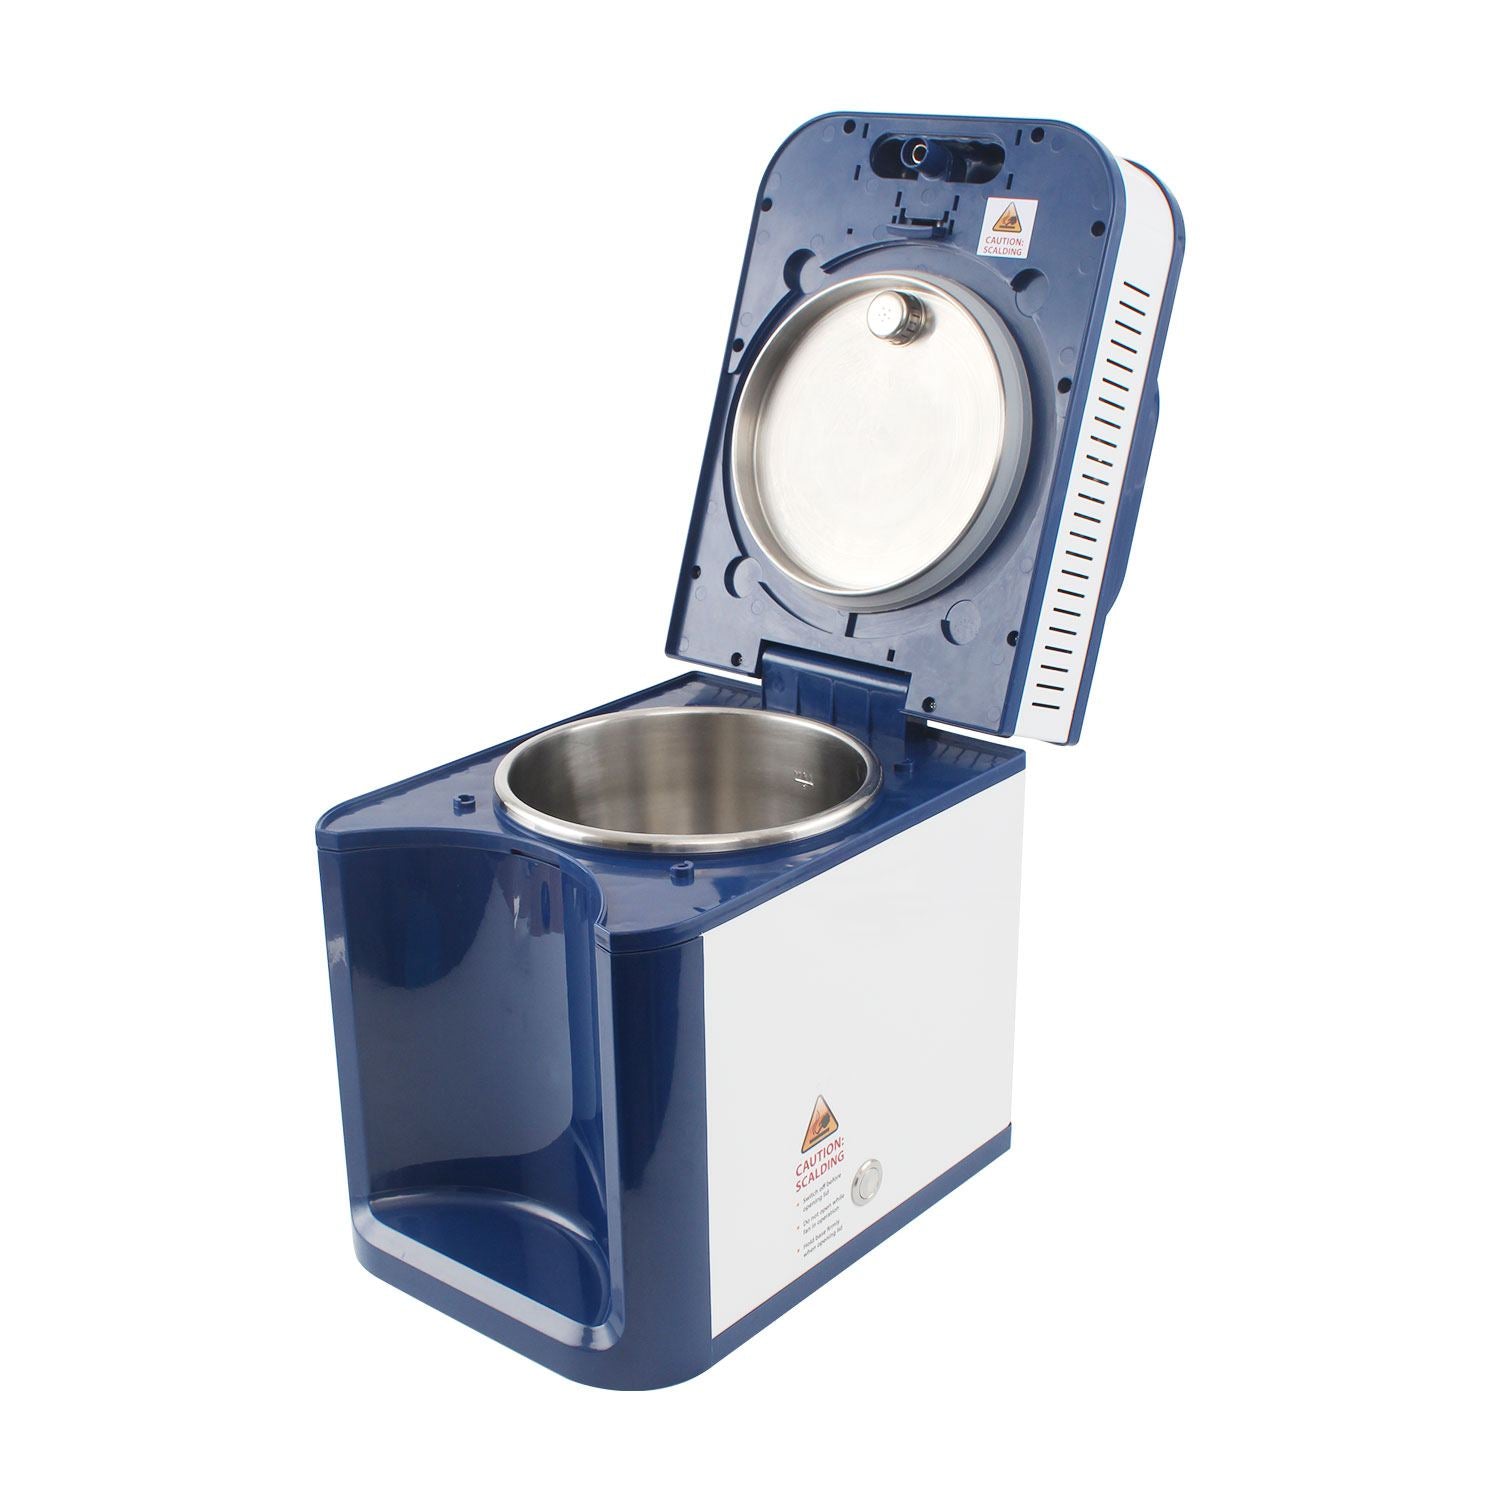
The water distiller dental inner liner is made of high-quality 304 medical grade stainless steel, which has excellent corrosion resistance, eliminates rusting problems, ensures long-term use of health and safety, and greatly extends the service life of the machine.
3. Highly Durable Metal Reset Switch
Medical water distiller is equipped with metal reset switch, with higher wear resistance and resistance to use, to ensure long-term frequent operation is still stable and reliable, is the ideal choice for high-frequency use scenarios.
4. Patented Filter And Large-Capacity Water Bottle
The machine has a built-in patented filter, which effectively filters impurities and ensures the provision of high-purity distilled water every time; the 4-litre large-capacity kettle design meets the needs of long-time use and reduces the hassle of frequent water refilling, making it more convenient.
5. 3.0 Upgraded Condensation System
The new generation condensation system has been significantly improved in terms of efficiency and energy consumption, making the distillation process more efficient and faster, while achieving a better cooling effect to ensure the stability of the equipment and the high purity of distilled water.
Parameter:
|
Output power
|
750W
|
|
Input power
|
220V,110V150Hz,60Hz
|
|
Water flow rate
|
1.5L/hour
|
|
Shell material
|
Plastic+metal
|
|
Cavity size
|
180*175mm
|
|
Product size
|
315*230*365mm
|
|
Gross weight
|
7.5KGS
|
|
Net weight
|
7KGS
|
|
Kettle capacity
|
4L
|
|
Pot capacity
|
4L
|
|
Fuse
|
F4AL250VAC
|
|
Water outlet temperature
|
<40°C (detection environment temperature is 24°℃)
|
|
Scope of application
|
Tap water
|
Instructions For Use:
Unpacking
1. open the package, remove the packaging and take the kettle out of the pot;
2. make sure that the accessories are complete;
3. place the still on a dry, level, well-supported surface with at least 10cm of surface edge.
4. Ensure that the power supply unit to which the appliance is connected is safely earthed.
Use
1. Filter Installation: Unscrew the kettle lid and place the filter on the kettle as shown.
2. Filling the kettle with water: Apply the water container and fill the kettle with water to below the maximum water level MAX.
WARNING: 1. Do not exceed the maximum water level to prevent water from overflowing out of the kettle to other places and creating a safety risk.
3. No need to fill the water directly with the water cage head to avoid overflowing water and soaking into the inside of the appliance.
4. Use a dry cloth to dry the water droplets on the kettle body.
5. Covering the lid : Press the lid and pull the lid buckle so that the lid buckle catches the pot panel buckle (notch) to confirm that the lid is fastened.
6. Placement of the kettle: Place the bottom of the kettle onto the front of the setup, then place the filter on the kettle over the spout and place the kettle diagonally onto the kettle chassis.
Warning: you need to make sure that the filter on the spout of the kettle is connected to the spout and that there is no possibility of water overflow.
7. Connection of the power supply: Insert the power connection cable into the power socket at the rear of the appliance, plug the power supply into the power supply unit, switch on the power switch at the rear of the appliance and the indicator light of the power switch should light up. Otherwise check whether the power cord is plugged in or the power supply unit is normal.
8. Work indicator: When the power supply is normal, press the ‘work button’, then the indicator should light up blue.
Warning: Prevent dry burning. Prohibit in the absence of water in the case of pressing the ‘work button’.
9. Fan: When the indicator lights up blue, the pot heating, the water temperature began to rise. When the indicator light turns from blue to blue and green (cyan), the fan starts to rotate, and the wind blows out of the outlet.
10. Water: When the water temperature continues to rise to the water boiling, water vapour through the steam separator to the cooling system to cool the water from the outlet out of pure water.
11. Cooling: When the indicator light from the blue-green dual-colour (cyan) to green, the pot of water has been distilled clean pot heating stops, the device enters the pot cooling stage, the fan continues to work, when the indicator light off (white), the device work is complete.
12. Save the water: take the kettle out of the appliance, take down the filter and cover the kettle lid which is unscrewed in front.
13. Open the top cover: pull the top cover buckle at the water outlet by hand (in the direction shown by the arrow), the top cover buckle comes out of the pot panel buckle (notch), you can tilt up the top cover.
Cautions:
General Use
Indoor Use Only: For indoor settings.
Grounding: Ensure proper grounding; avoid two-wire connections.
Dry Hands: Do not operate with wet hands.
Unplug for Cleaning: Unplug before cleaning.
Ventilation and Heat
Ventilation: Keep heat dissipation vents and fan outlets clear.
No Blocking: Do not cover the fan or air outlets.
Setup and Placement
Stable Surface: Place on a stable workbench.
Child Safety: Keep out of children's reach.
Position Carefully: Keep away from edges to prevent tipping.
Operation
Power Supply: Use an adequate power supply; check the product label for load requirements.
Cooling Before Access: Wait for the green light and fan to stop before opening the top cover.
Water Handling
Kettle Positioning: Align the kettle properly with the water outlet.
Filter Maintenance: Regularly clean and replace the kettle filter to prevent overflow.
Water Level: Do not exceed the max water level to avoid spillage.
No Immersion: Avoid submerging the unit in water.
Water Quality
Use Quickly: Use distilled water within 8 hours to maintain water quality.
Fault Resolution:
|
Fault Phenomenon
|
Possible Cause
|
Solution
|
|
Rear socket switch indicator light is off
|
1. The power switch is not turned on.
2. There is no power supply, or the connection device is loose, and the connector is not firmly inserted.
3. Blown fuse
|
1. Press switch 1 to power on.
2. Check the power supply or replace the power module.
3. Pry off the fuse cover and replace the fuse F4L250V
|
|
After the power is switched on, the upper cover indicator light is not bright, and the distilled water machine does not work.
|
1. Possible causes of the preceding faults
2. Failure to press the "work button"
|
1. Proceed as described above
2. Press the "Work button" on your device
|
|
The device outlet water or steam, but the indicator light and fan do not move, the indicator light is always blue and does not turn
|
The temperature control switch of the indicator and fan is damaged or the connector is removed
|
Open the bottom cover and check the temperature switch and connector
|
|
The distilled water is less, and there is water vapor in the middle of the upper cover and the panel when working
|
1. The top cover button is not locked with the pan panel, resulting in the pan cover is not covered
2. The seal ring is displaced or aged
|
1. Close the top clasp with the pan
2. Check the seal ring or replace it
|
|
There is a leak in the kettle
|
The kettle and filter are not connected to the outlet
|
Check the connection between the kettle or filter and the water outlet, so that the water is just connected
|
|
Indicator blue light, water is not heated, no steam, fan is not working
|
The heating disc is not heated, and the temperature control switch or heating disc is damaged
|
Unplug the power supply, open the rear cover, check whether the connector is loose, use the multimeter resistance to check whether the "work button" temperature control and chassis protection temperature control are normal. Test whether the resistance of the heat pipe is about 65, otherwise replace the parts
|
|
The indicator turns normally but the fan does not work
|
1. The fan connector is offline
2. Fan failure
|
1. Open the fan cover of the air exhaust vent and check whether the connector is properly inserted
2. Replace the fan
|
|
electric leakage
|
The device is not effectively grounded
|
Check whether the power supply device is effectively grounded. Do not use it until the cause is known
|
|
Failure to handle
|
Please contact the distributor
|


