High Voltage Output: Provides ample power for superior penetration and image quality, essential for capturing detailed dental images effectively.
 Imported X-Ray Tube: Utilizes advanced technology for clearer images and reduced radiation exposure, prioritizing patient safety and diagnostic accuracy.
Short Exposure Time: Swift exposure helps reduce radiation exposure, enhancing patient safety while delivering clear, precise images for accurate diagnosis.
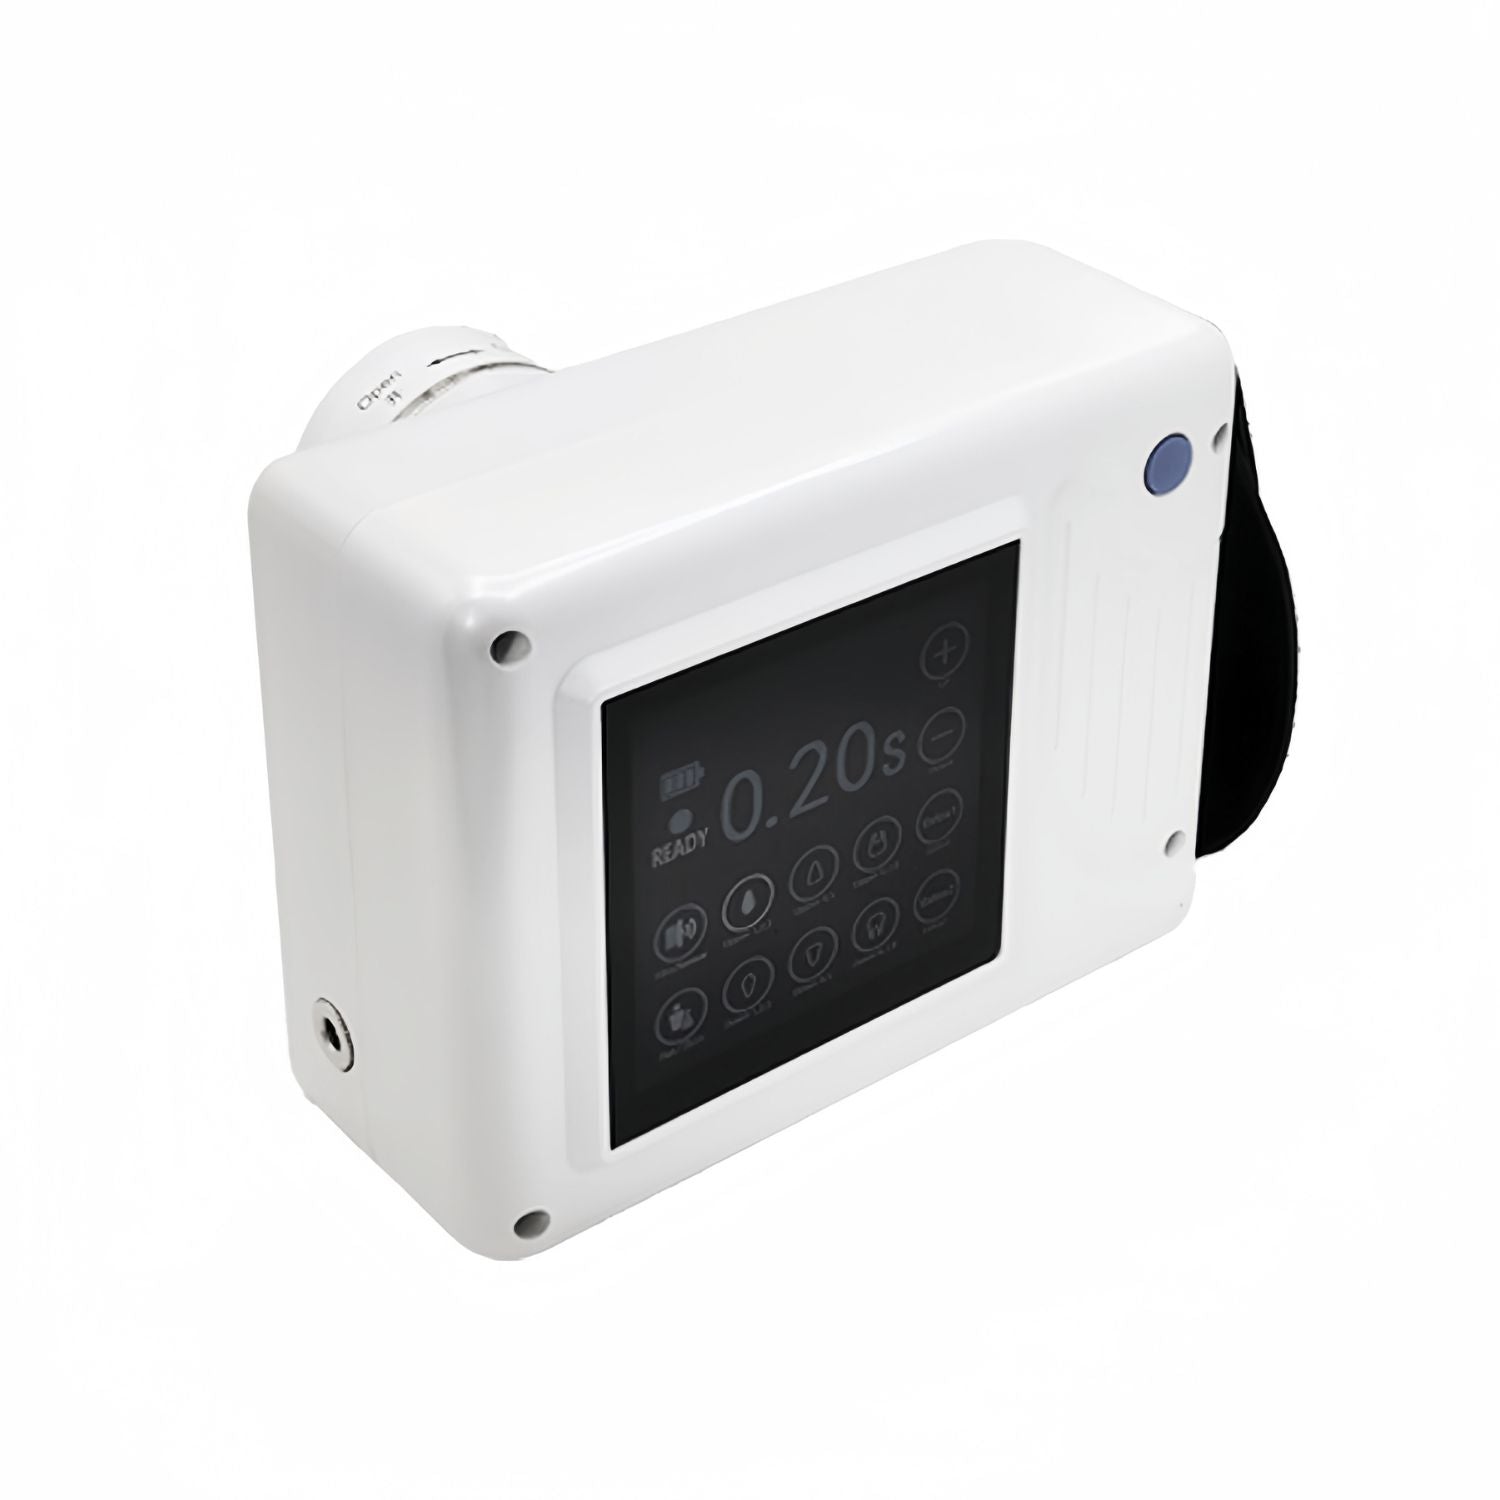
Enhanced Image Clarity: Produces detailed radiographs with high resolution, aiding in the accurate diagnosis and treatment planning for various clinical scenarios. User-Friendly Interface: Features a large touch screen interface for convenient operation, catering to various filming requirements and ensuring ease of use for practitioners.
 Stable Output Performance: The solid-state chip technology achieves high-frequency operation, while closed-loop control maintains consistent output levels for reliable imaging results.
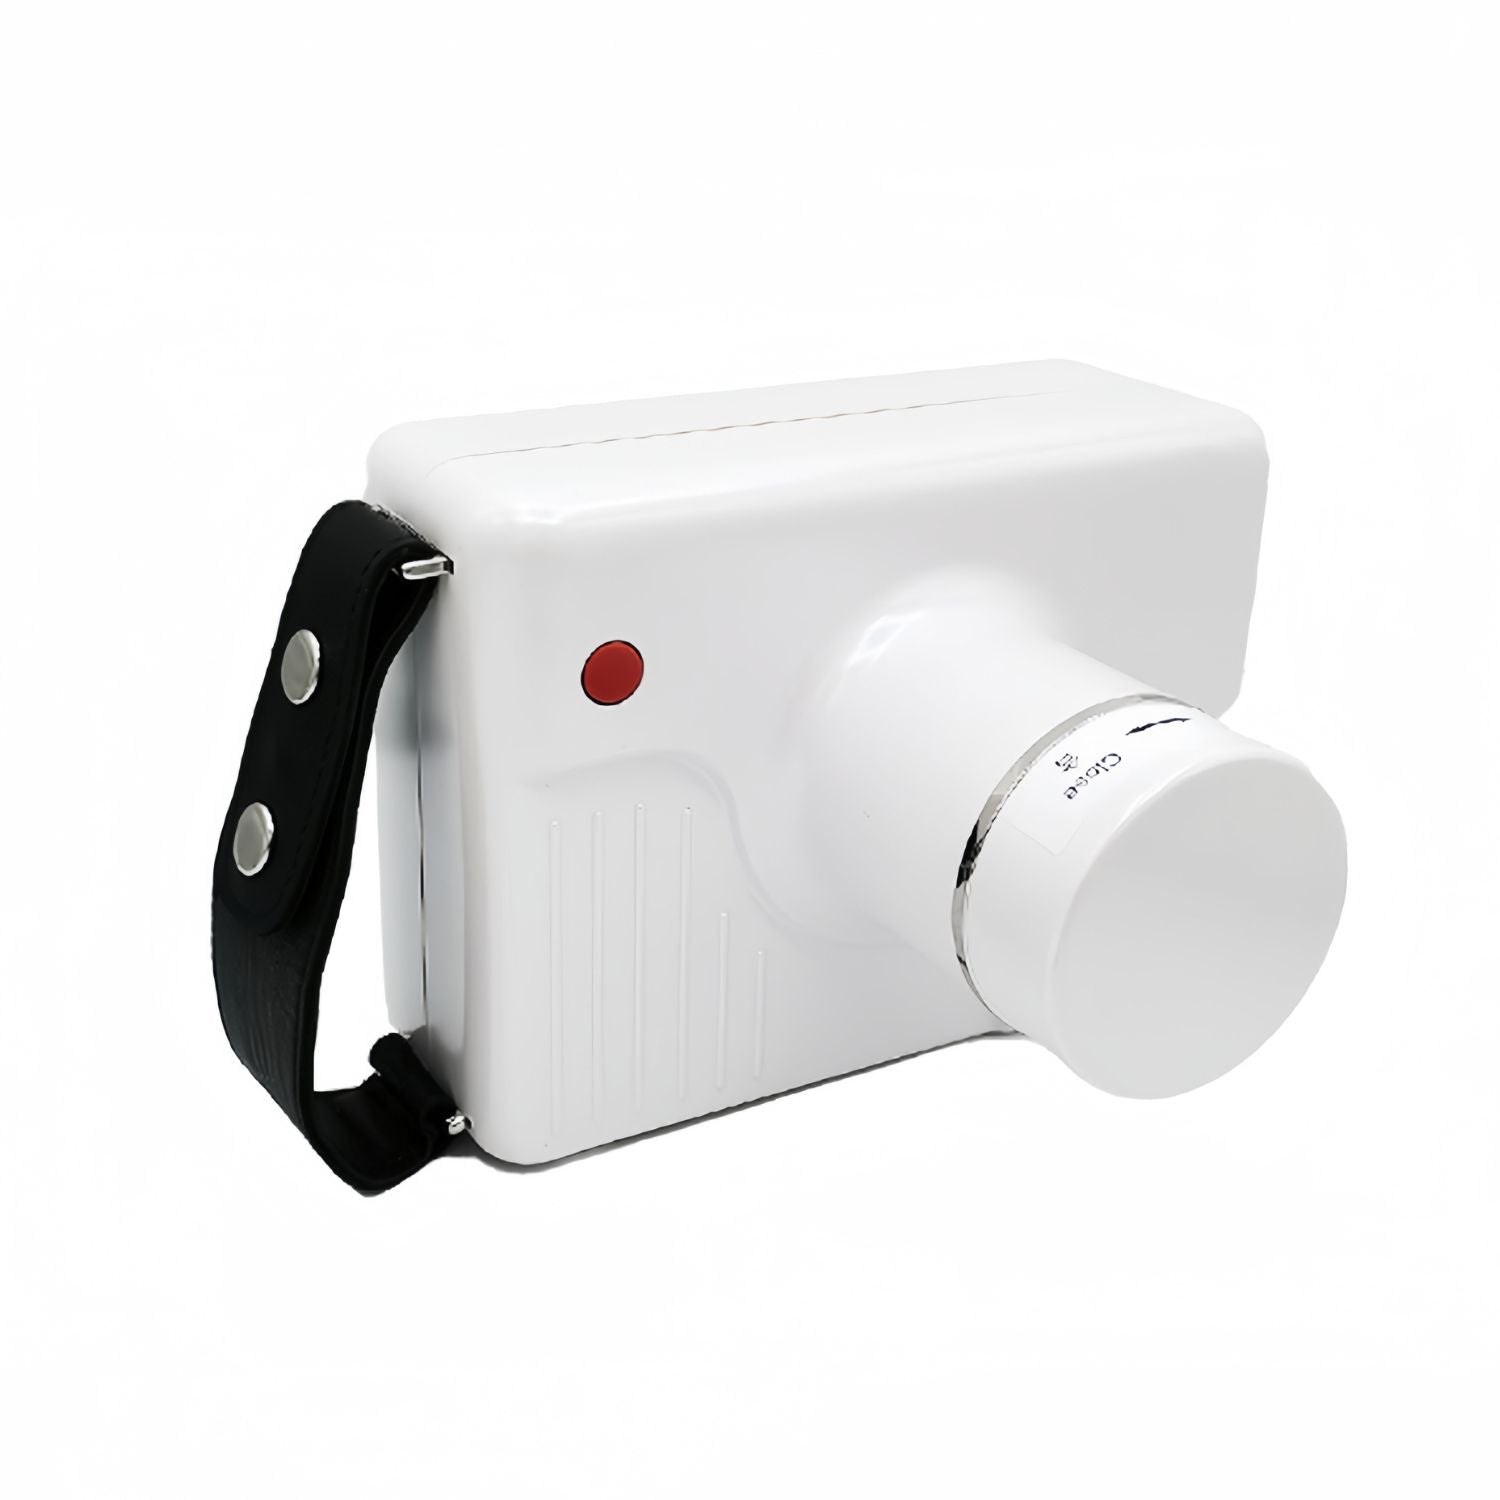
 Large Capacity Battery: Enables the capture of up to 200 consecutive photos on a single charge, ensuring uninterrupted workflow and enhanced efficiency in clinical settings.
Parameter:
| Nominal X-ray tube voltage
|
60kY+10% (Stable) |
| Nominal X-ray tube current |
2mA±20% (Stable) |
| Nominal electric power |
120W(60kv 2mA 0.1s) |
| Mode of operation |
Break load, continuous operation |
| Loading time range |
0.1s~2.0s |
| Component filtered |
21.8mmAL |
|
Distance from focal point to image receiving surface
|
20cm |
| X-Ray field size |
Φ50mm±10% |
| Leakage radiation from accessible surfaces |
<0.25mGy/h
|
| Interval ratio of exposure |
1:60(exposure: interval) |
| Battery capacity |
2500mAh |
| Charger output voltage |
DC16.8V,1A |
| Charger input voltage |
Ac100v-240V,50/60Hz |
| Size |
170X235X127(mm) |
| Equipment service life |
6 Years |
| Net weight |
2kg |
Packing list:
|
NO.
|
Name
|
Quantity
|
|
1
|
Machine
|
1
|
|
2
|
User manual
|
1
|
|
3
|
Charger
|
1
|
|
4
|
Beam limiting tube
|
1
|
Method of using:
1.Turn on the machine
a. Press and hold the on-off button. When the buzzer sounds and the LCD screen lights up, release your finger and wait for the device to complete initialization.
b. Display the initial conditions on the screen.
c.If no operation is performed for more than 5 minutes, the device will automatically shut down.
2. Setting exposure time
a. According to the patient's characteristics, choose Fat/Thin.
b. According to the image receiving device, choose Film/Sensor.
c. According to the patient's tooth position, choose the tooth
position.
In addition, two additional exposure time selection buttons are provided (fixed exposure time).
d. The patient's tooth position has been selected and the exposure time has been adjusted according to the patient's signs(fat or thin).
3. Place the internal oral receiver
The film/sensor is cleaned and placed in the mouth so that the front of the tooth/sensor is against the inner side of the illuminated tooth, Press the back of the tooth/sensor with your thumb to make it fit tightly.
4.Exposure shooting
The operator adjusts the Angle of the host, aligns the beam limiter to the tooth of the patient, presses the exposure button. and holds it, then the exposure can be made according to the preset parameters. The display screen displays the exposure indication, the buzzer rings, and the button is released to stop the exposure.
Note:
1. Press and hold the exposure switch during exposure and release the button to stop exposure.
2. During the exposure period, if an emergency stop is needed, just loosen the exposure switch.
5. Turn off the device
Keep pressing the switch button until the buzzer rings, then release the hand, and the device will shut down automatically(the device will shut down automatically if there is no operation within 5 minutes of standby).
6. Image developing
a.film
<light room film>
Put 3 or 4ml solution by the injector to the tooth-bag, takeout the film to wash with clear water after pressing about3-5min with hand.
<dark room film>
Tear the tooth-bag in dark room, take out the film by clam put it into the developing solution, take out the film after or 6 min to wash it with clear water. then put the film into the fixer solution about 10 min, wash it with clear water again.
b. sensor
The image will appear in the image system.
7. Charging
If the battery is low voltage and it can not work properly please charge it in time.If the machine is not used for a long time, please charge the equipment once a month to ensure that the battery is used properly. When charging, please use the same specification charger that meets the requirements of the international standard. When finish the charging, (the charger LED indicator is changed from orange to green), the DC output of the charger is removed from the charging hole. Battery is consumable, each equipment only equipped with one original battery, if you want to buy, please contact the manufacturer.