Features:
1. Shell Design: stainless steel and plastic combination, fashionable and practical appearance
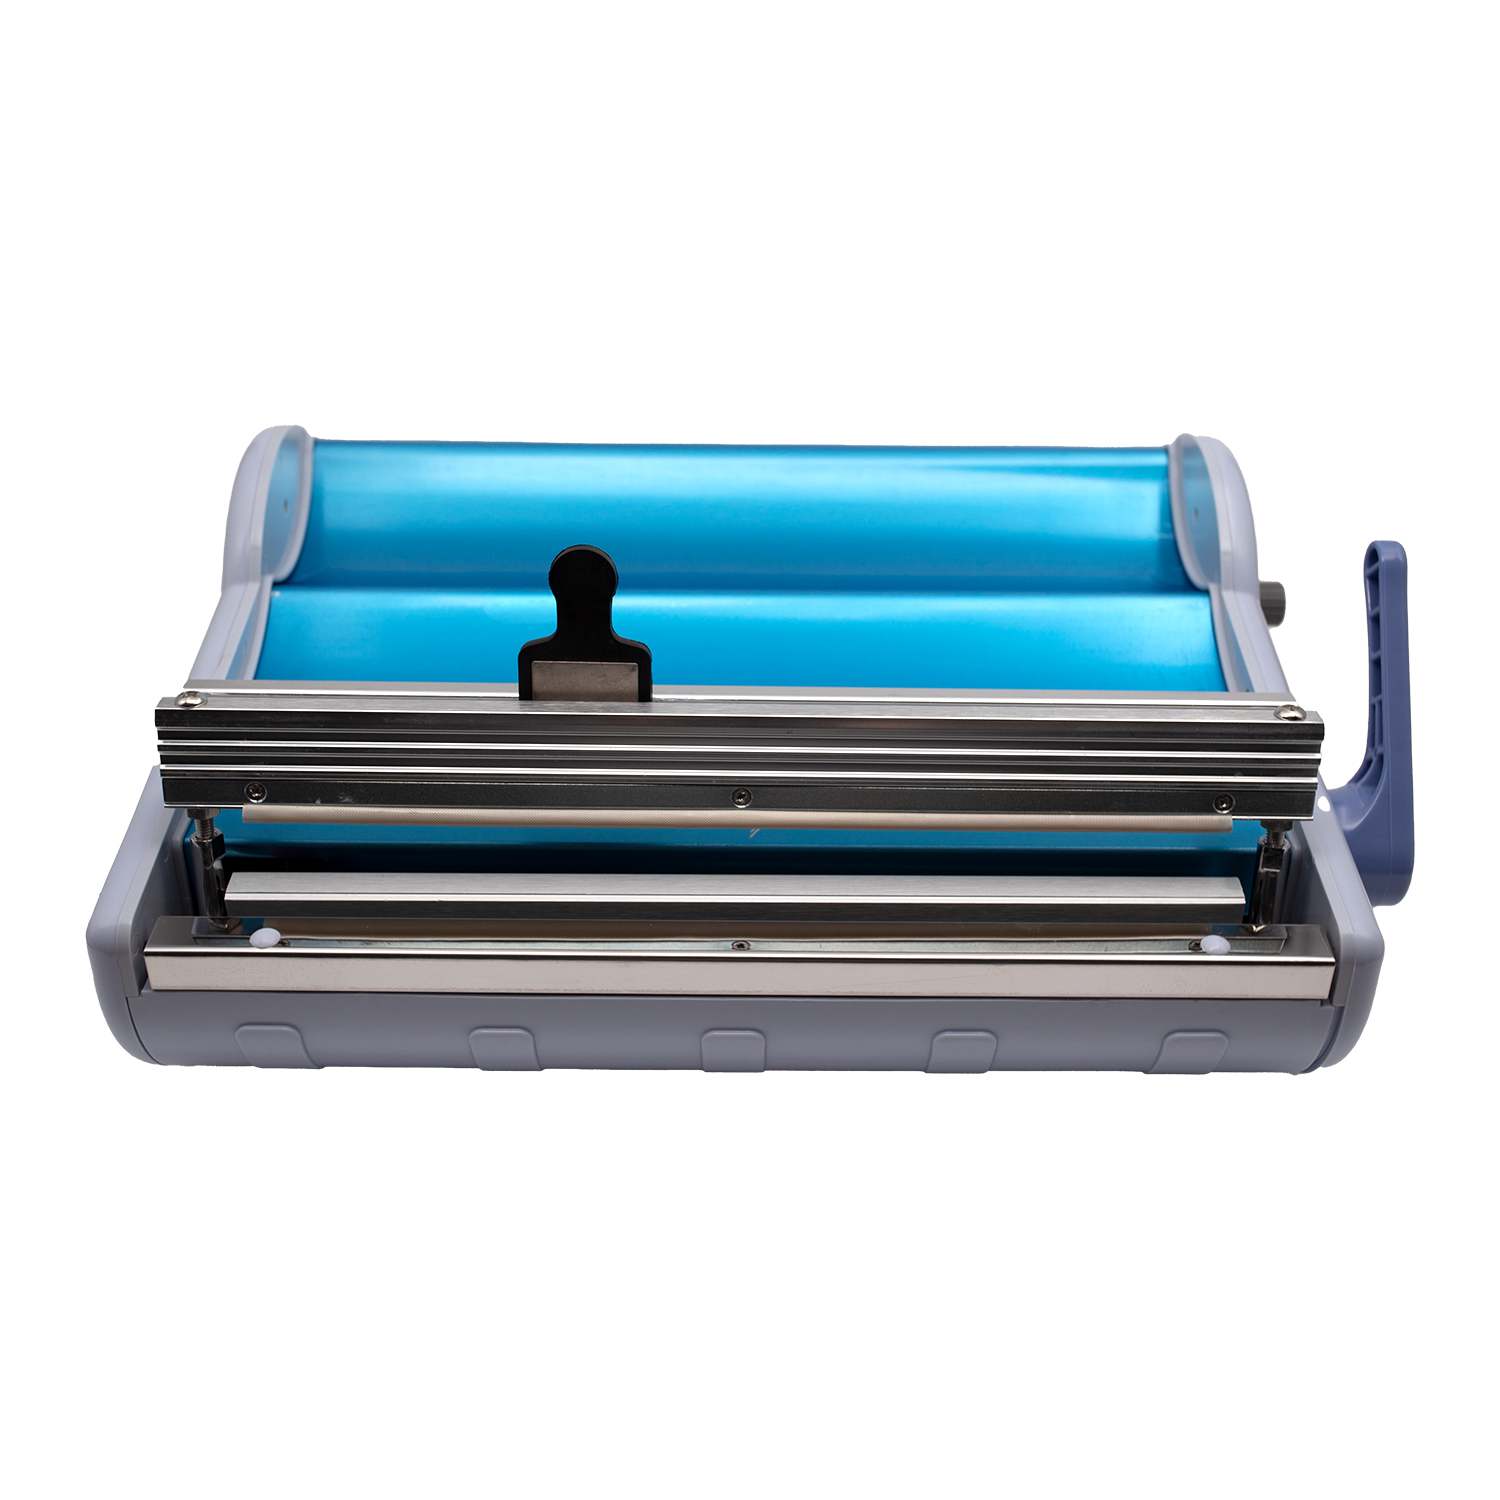
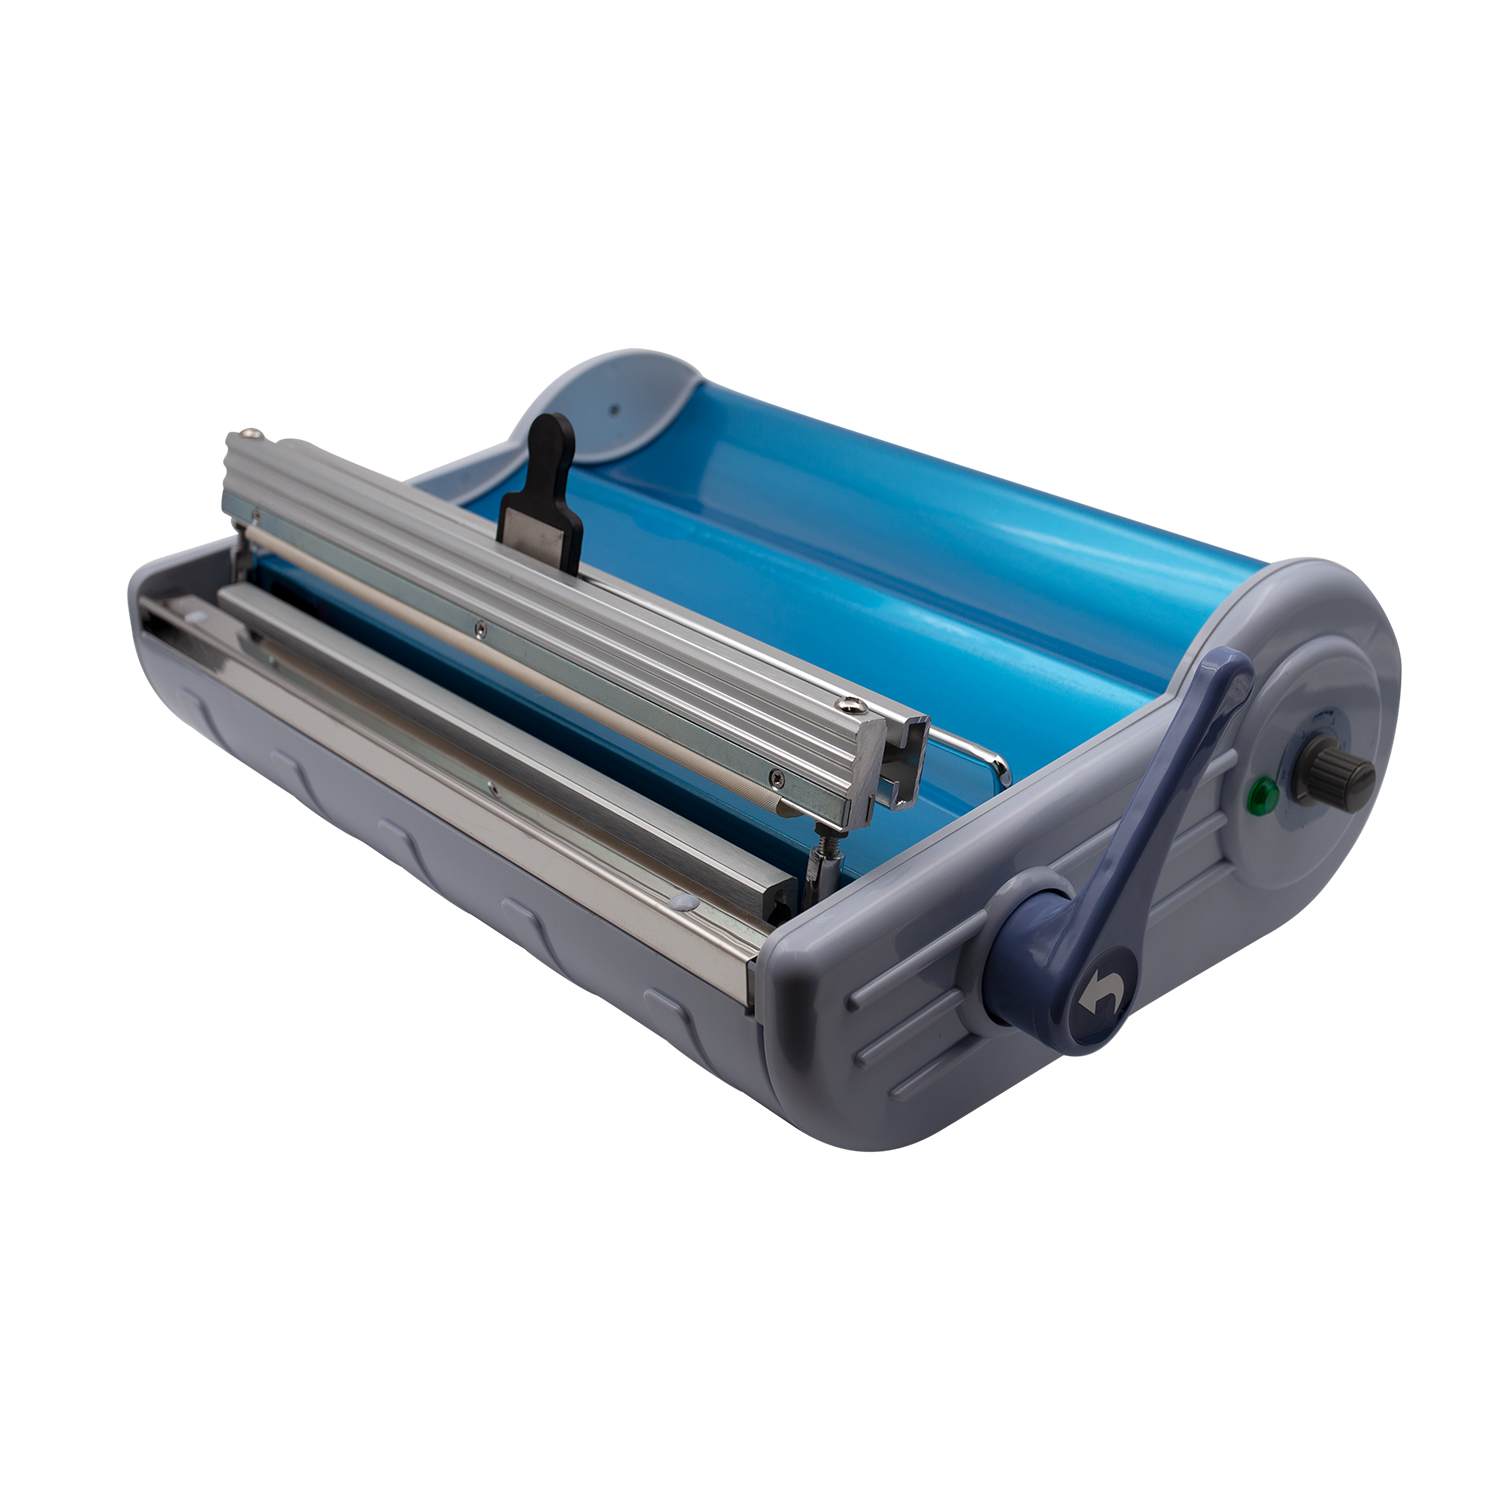
The shell of the medical pouch sealer is made of durable stainless steel and plastic, combined with a modern and stylish design. Stainless steel is not only beautiful, but also has good insulating properties and excellent safety performance, to ensure stability in use; plastic parts provide excellent thermal insulation, while enhancing the overall appearance of the equipment.
2. Convenient Blade Replacement Function
The medical heat sealer supports external standard surgical blades for easy replacement, ensuring convenient access and efficient operation. No need to design extra special blades, good compatibility, easy and quick replacement, which improves the operation convenience and safety.
3. Sterilised Packaging & Status Indication
The medical heat sealer adopts the special structure of medical paper and polypropylene layer to seal the instruments that need to be sterilised in the sterile package, which helps to maintain the sterile status after sterilisation for a long time. At the same time, the colour change of the font indicates the completion of the sterilisation process, ensuring the cleanliness and safety of medical devices. Diversified package sizes, such as 5cm and 7cm, are available to meet different sterilisation needs.
Parameter:
| Voltage |
AC220V |
| Frequency |
50/60Hz |
| Power |
500W |
| Fuse Tube |
T3A |
| Sealing Width |
250mm |
| Embossing Width |
10mm |
| Outside Dimension |
460*350*220mm |
| Weight |
5.5kg |
Daily Use:
1. Sealing Procedure
When the heating indicator goes out, you can start the sealing operation. Caution! The sealing mouth plate is always hot, please avoid direct skin contact. To avoid unsatisfactory sealing due to too high or too low temperatures, the knob should be turned to between 3 and 4. Place the transparent sterilised packet between the lever and the sealing plate, paper side down. Depress the lever until pressure is felt, which creates a seal. Be sure that there is always sealing pressure.
Caution! If the lever is not pressed down sufficiently, the sealing pressure will not be felt and the quality of the seal will be affected. The lever must not be relaxed during the sealing process, which lasts approximately 4 seconds. The sealing is completed when the bag is loaded down and the lever is returned to its original vertical position. If the main power switch is not switched off at this point, the sealing operation can be continued.
2. Cutting Off The Package
Drag the cutter handle quickly, the cutting blade cuts through the bag and cuts the bag. If the blade cuts too slowly, the sterilised bag will not be cut correctly and may break, the cutting blade has a cutting function on both the left and right.
3. Packaging With Rolls
Insert from the back of the platen and sealing plate and out the front. The paper side must be facing down so that it can be in contact with the sealing guide. Pull out the package to the desired length, seal it and cut it. Place the item to be sterilised into the bag and seal the opening.
Sealing Temperature:
The medical pouch sealer has a very precise temperature regulation system which can be adjusted by rotating the temperature adjustment button. When using aseptic packaging material (nylon on one side and paper on the other), the temperature rotation needs to be set at 1/3. Firstly, turn the knob anti-clockwise to reduce the temperature, then turn it clockwise to slowly increase the temperature until the sealing quality meets the requirements, and then in the future, when using the same packaging materials, there is no need to adjust again. This package sealing equipment maintains consistently high quality when sealing clear sterilised packages. The paper side faces the sealing opening. Tubular foil material cannot be used as it tends to stick to the sealing rod.
Maintenance:
1. Replacement Of Pressure Rail
Note, switch off the switch, then unplug the main power, then wait until the sealer cools down before operating to prevent burns (this is very important when repairing, servicing and maintenance)
2. Replace The Blade
Use a hexagonal wrench to unscrew the two screws on the knife frame slider, remove the knife frame slider on the knife frame slider, and then remove the blade cover on the slider, and then you can replace the blade (Note: The blade is very sharp)
3.Replacement Of Sealing Dye Cloth
Firstly, remove the knife frame slider, then 1 unscrew the two screws on the front pressure bar, remove the front and back pressure bar, then you can replace the sealing dye cloth.


