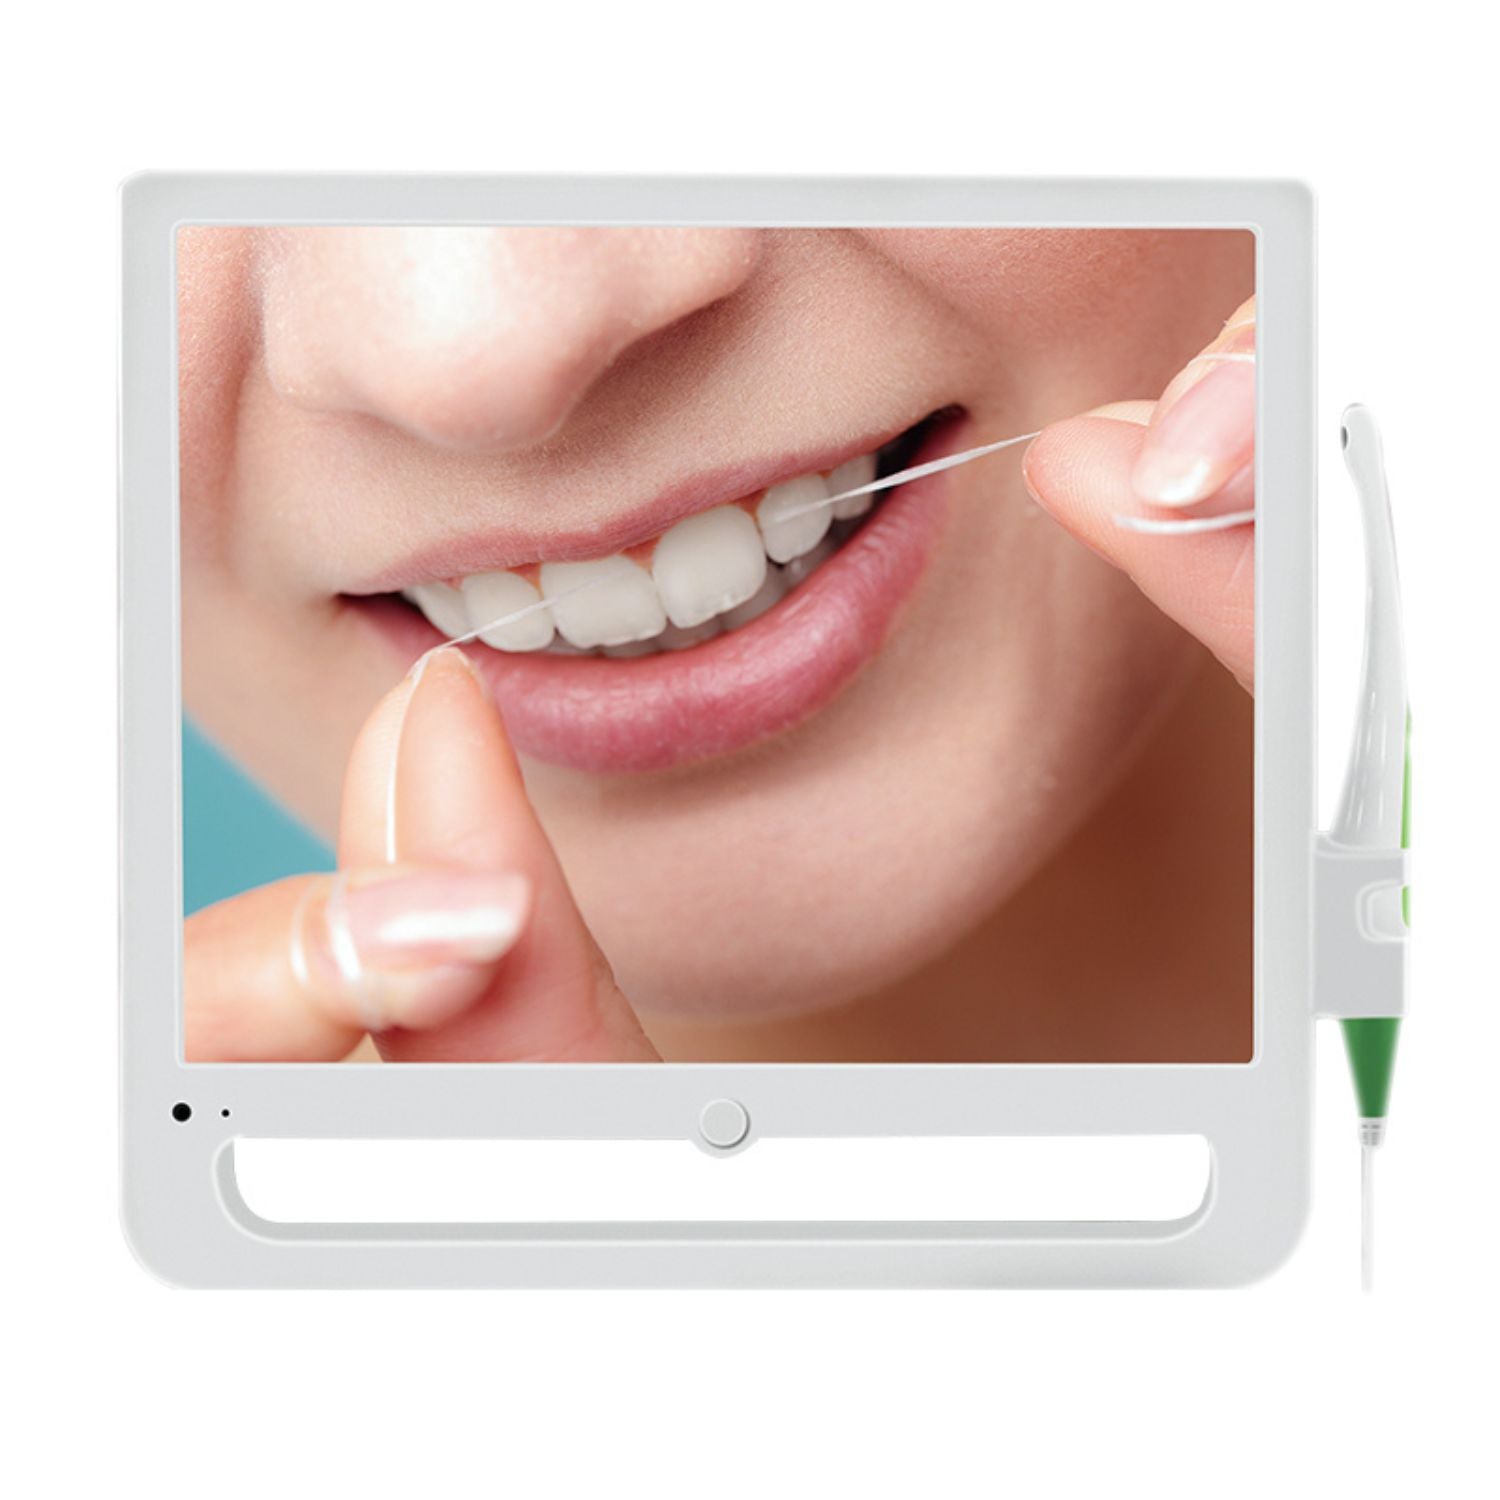

High performance imaging system
1. The intraoral camera lens uses a combination of optical multi-coated lens, 1/4 SONY CCD sensor and white LED cold light source to ensure high quality optical imaging. The optical multi-coated lens reduces interference from stray light and reflections, making the imaging effect clearer and more detailed.
2. The 2.1/4 SONY CCD sensor offers high resolution and superior colour reproduction to clearly capture subtle oral structures and lesions. This combined design ensures lossless output of image quality, providing more accurate information to support doctors' diagnosis and communication.

Advanced Quadrant Framing Technology
1. The quadrant framer adopts Taiwan's advanced electronic technology, which is capable of framing and storing the images taken by the handpiece. Doctors can easily frame the image content quickly for real-time analysis and recording.
2. All the framed images are supported to be exported to U-disk or computer to meet the demand for long-term storage, which is convenient for doctors to view and analyse in the future. This convenient storage function not only reduces the pressure of image archiving, but also provides reliable support for subsequent medical record management and ensures the permanent preservation of data.

Multiple Image Display Modes Facilitate Doctor-Patient Communication
1. The device supports single-frame and multi-frame modes of shooting and displaying, allowing doctors to visually compare the oral images before and after treatment on the same screen. This mode makes the treatment effect clear at a glance, and it is easy for the doctor to explain the treatment progress with the patient in detail, enhancing the patient's understanding and trust.
2. Multi-compartment mode is ideal for displaying orthodontic and filling treatments that require a step-by-step process, providing an efficient communication tool for the doctor and making it easy for the patient to clearly understand the effect and progress of the treatment.


Parameter:
| Display |
17 inches |
| Resolution |
1280*1024 |
| Light source |
LED cold light source |
| Handle line |
3m spiral line (optional straight line 1.8m) |
| Power supply |
AC100-240V 12V/3A |
| Pixels |
12 million |
| Interface |
USB |
| Power consumption |
<48W |
| Storage method |
U disk storage |
| Net weight |
4.8kg |
| Outer packaging size |
410*110*450mm |
Usage:
1. Power on: turn on the power, press the switch button or remote control power button, the indicator light switches colours (green/blue) after power on.
2. Insert the USB flash drive: Insert the USB flash drive into the USB port of the monitor (the lower right corner of the screen will show ‘USB’ after inserting the flash drive).
3. Take a picture: take down the handle on the hanger, the handle light will be on, the remote control will open the ‘channel’, adjust to ‘oral collection’ and confirm, press the handle to take a picture.
4. Save: Quarter or full screen will be automatically saved after the completion of the photo (not inserted into the U disk, the image is stored in the system, the image will be lost when the power off. Insert the U-disk, the image is stored in the U-disk cam folder as a priority, when you need to take out the U-disk, you must turn off the power and then take it out, or press the ‘POP’ button on the remote control, and then the dialogue box of the U-disk pops up, press the ‘Up Picture’ or ‘Down Picture’ to select YES. Turn down the picture’ select YES, and then press the “Confirm” button to confirm the exit of the USB flash drive, to avoid directly pull out the USB flash drive damage and image loss.
5. Backspace: During the process of taking pictures in quadrants, press ‘Exit’ to delete unsatisfactory pictures in the current frame.
6. Browse photos: press the handle or remote control ‘up picture’ and ‘down picture’ to view the picture.
7. Handle shutdown: handle correctly hung back in the hanger, the handle light off, that is, shutdown (screen display standby screen is normal).
8. Multimedia playback: Insert the USB flash drive into the USB port of the monitor, press the ‘channel’ key with the remote control to select the signal source (multimedia), press the ‘Confirm’ key to enter the multimedia playback. You can choose to play pictures, music, video or documents, confirm the display of the contents of the U disc can be played, and then confirm the playback.
9. Switch back to the photo: press the remote control ‘channel’ key to the monitor to select ‘oral capture’ can quickly switch to the photo interface.
10. Screen shutdown: press the monitor switch button, that is, the screen shutdown.
Cautions:
1. Please do not penetrate or touch the signal connector with sharp objects, metal or liquid, so as not to cause a short circuit;
2. Please use the special power supply specified by the original manufacturer, if the product is not used for a long time, please unplug the power supply.
3. The display is fragile, please pay attention to the use of the process do not produce collision and the use of sharp objects to scrape;
4. The display and the handle lens can not use alcohol and other disinfectant liquid wipe.
5. Before using the handle to take pictures, be sure to wear a good sheath, the lens into the liquid or scratch, resulting in blurred photos, not in the free warranty.
6. Do not disassemble any parts of this product, disassembled products are not warranty.
Package Content:
multimedia all-in-one machine, induction bracket, all-in-one high-definition handle (optional), remote control, DC12V power supply, complimentary USB flash drive, disposable handle protective sleeve, instructions.
Simple Troubleshooting:
If a malfunction occurs, please follow the steps below for troubleshooting first, and if you still cannot solve the problem, please contact your dealer.
|
Fault Status
|
Overhauling Method
|
|
No Display (indicator light is off)
|
1. Check whether the monitor power cable is properly connected.
2. Check whether the monitor POWER switch is turned on.
|
|
Blue Screen
|
Indicator light is on, suggests no signal, please press the remote control (channel) button to check whether the signal source is selected (oral capture) or (HDMI) channel.
|
|
Black screen without image, handle light is not on (showing the four dividers)
|
Check whether the connection between the handle and the display is normal
|
|
The picture is blurred after freeze-frame
|
1. When freeze motion, the handle must be static to ensure that the captured image is still;
2. The operation is not skilled, repeated practice can be changed;
3. The viewer uses a macro lens with a shooting distance of 2-3 teeth.
|
|
The monitor picture is stained
|
1. Check the screen for stains;
2. Check camera lens for stains, such as using a clean cotton swab gently wipe clean;
3. If the above method cannot be cleared, please contact the distributor
|
|
Image out of position
|
Use the remote control < menu >----< Settings >----< Reset or factory Settings >
|


