A Guide to Digital Impressions: Tips You Need to Know
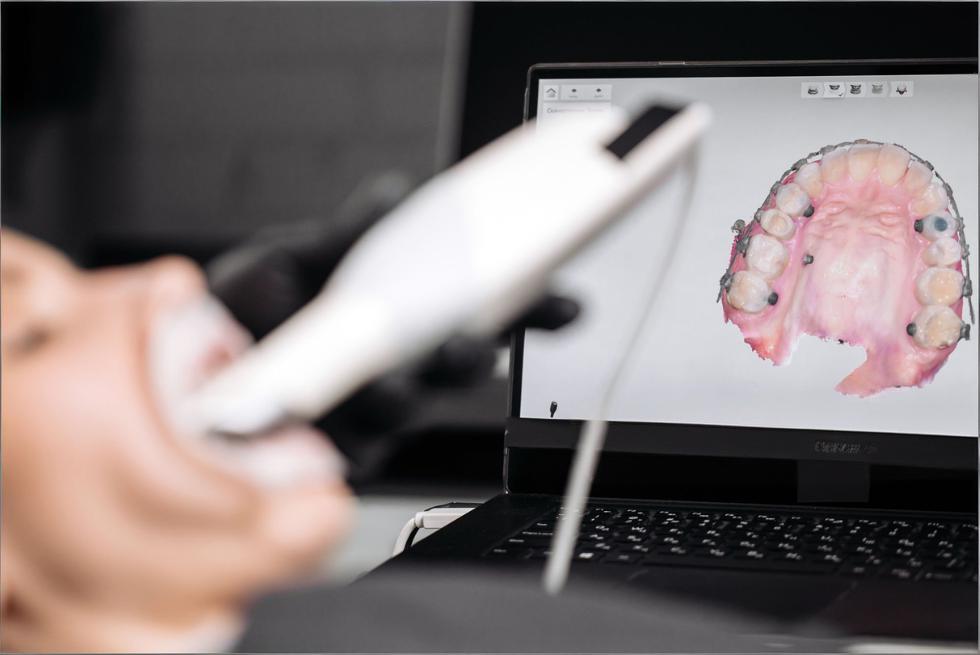
Digital impressions can feel like “magic” the first time you watch a full arch appear on the screen—but consistent, predictable scans are less about magic and more about repeatable habits. The good news: once your team has a simple scan rhythm, the entire restorative workflow (and the patient experience) starts to run smoother.
-
Think in outcomes, not screenshots: your scan only “wins” if the lab can design from it without guessing.
-
Speed comes from consistency: a calm, repeatable scan path beats rushing every time.
-
Your best friend is QA: a 60-second review prevents 60 minutes of remake drama.
The Digital Workflow, Simplified
At a high level, digital impressions are the same story every time: capture clean data, verify it, then send the right files with the right context. The “simplified” part isn’t skipping steps—it’s making the steps so clear that anyone on the team can run them confidently.
-
Prep the site (retraction + moisture control + clean surfaces).
-
Scan in a logical order (often: opposing → prep arch → bite; many restorative guides teach this sequence).
-
Review immediately (margins, contacts, holes, bite alignment).
-
Export and send (correct file type + clear lab instructions + photos when helpful).
-
Track results (remakes, adjustments, rescan frequency) so you improve over time.
Set the Stage with Smart Prep
Intraoral scanners are honest to a fault: they only capture what they can see. If tissue, moisture, or debris is hiding a margin, your scan may look “complete” but still be clinically unusable—especially around subgingival finish lines.
-
Retraction is non-negotiable for margins: many labs recommend a double-cord approach or equivalent tissue management so the finish line is clearly visible.
-
Control moisture like it’s part of the prep: saliva, blood, and crevicular fluid are scan quality killers.
-
Clean the surfaces you want captured: quick rinse + gentle air + remove plaque/biofilm around the margins.
-
Avoid extremes: “bone dry” can exaggerate artifacts; aim for controlled dryness, especially at the prep.

Mastering the Scanner: It’s in the Details
Most scan failures aren’t “tech problems”—they’re tiny technique issues that snowball (distance drift, shaky passes, missed angles). When you treat scanning like a hand skill (similar to photography), your accuracy and speed both improve.
-
Keep a steady “sweet spot” distance from the teeth (your scanner will tell you when you’re too close/far).
-
Use smooth, overlapping passes so the software always has familiar landmarks to stitch.
-
Chase margins with angles, not speed: rotate your wrist and approach from buccal/lingual to reveal contours.
-
Anchor before you patch: when you rescan a missing area, start slightly before the void so the software can lock on.
-
Calm the environment: cheek retraction, tongue management, and patient stillness matter as much as hand motion.
Get to Know Your Software Tools
Your scanner wand captures data—but your software decides whether that data is usable. The fastest scanning teams aren’t the ones who “never miss,” but the ones who know how to fix small issues without restarting the entire case.
-
Use trimming intentionally: remove unnecessary soft tissue and moving anatomy so the model is clean for the lab.
-
Learn your “patching” workflow: rescan small areas and blend them instead of starting over.
-
Validate occlusion digitally: bite scans are often the hidden reason crowns “feel high.”
-
Choose file formats on purpose: STL is widely compatible, while PLY/OBJ can include color/texture that helps with margin and tissue interpretation.
-
Standardize exports: consistent naming (Patient_LastName_Date_Tooth#) saves lab time and reduces mix-ups.
A 60-Second Scan Audit (Your Quality Gate)
If you adopt only one habit from this guide, make it this: pause for a fast scan audit before you hit “send.” It’s the easiest way to reduce remakes, chairside adjustments, and “can you rescan this?” messages from the lab.
-
Do it the same way every time (same views, same checklist).
-
Assign an owner (the scanner operator or a second set of eyes).
-
Don’t negotiate with a bad margin—fix it while the patient is still seated.
Here’s a practical audit table you can copy into your SOP:
|
What to check |
What “good” looks like |
Quick fix |
When to rescan |
|
Margin visibility |
Crisp, continuous finish line; no tissue covering it |
Improve retraction + dry, then rescan margin zone |
If any part of the margin is guessed/blurred |
|
Data holes / voids |
No missing mesh on preps, contacts, or occlusal surfaces |
Patch with overlap from a stable anchor area |
If voids sit on margin/contact/occlusion |
|
Interprox contacts |
Contact areas captured without smearing/distortion |
Tilt to capture embrasures; slow down over contacts |
If contacts look “melted” or incomplete |
|
Occlusion / bite |
Upper and lower align naturally; no obvious shift |
Re-bite scan in a previously captured region |
If restoration will be occlusally driven |
|
Soft tissue noise |
Minimal movable tissue; clean model borders |
Trim excess tissue; retract and rescan localized areas |
If tissue overlaps margins or prep walls |
|
Prep completeness |
Full axial walls + finish line + occlusal reduction captured |
Add targeted passes; verify prep centered in view |
If any wall is missing or distorted |
When you spot an issue, the goal is to correct it with the smallest, cleanest intervention—not to “scan harder.”
-
One bad zone = one targeted fix: don’t rescan the whole arch if only the distal margin is questionable.
-
If you keep patching the same area, stop: retraction/moisture is the real problem, not scanning.
-
If bite feels unreliable, redo it early: it’s quicker than adjusting a high crown later.
Make It Comfortable for Patients
Digital impressions are often marketed as “more comfortable,” but comfort isn’t automatic—it’s how you pace the visit, position the patient, and communicate what’s happening. A relaxed patient is also a better scanning environment (less movement, less saliva pooling, fewer interruptions).
-
Set expectations in one sentence: “I’m going to take a 3D picture of your teeth—no trays, no goop.”
-
Give micro-updates: “Halfway done… now just the bite… almost there.”
-
Use short breaks strategically: pause to dry/retract rather than pushing through a messy field.
-
Show the scan for trust-building: patients understand treatment faster when they can see it.
-
Have a plan for gag reflex: upright position, nasal breathing cue, and smaller, slower passes.

Common Pitfalls (and How to Avoid Them)
Most “scanner problems” are really workflow problems: skipping isolation, rushing the scan path, or sending files without verifying the details that matter to the lab. Fixing these doesn’t require new equipment—just a tighter playbook.
-
Pitfall: blurred/unclear margins → Fix: improve tissue control and keep margins free of moisture/tissue before scanning.
-
Pitfall: stitching errors on long scans → Fix: return to a known landmark (molar occlusal) and rebuild with overlap.
-
Pitfall: shiny/reflective surfaces → Fix: dry, adjust angle, reduce glare; for challenging materials, follow your scanner’s guidance.
-
Pitfall: “perfect scan, bad fit” → Fix: re-check bite capture and articulation before sending.
-
Pitfall: constant rescans → Fix: add the 60-second audit and track which step fails most often (prep, moisture, bite, or software review).
Work Smarter with Your Lab
Labs don’t just want “a scan”—they want a scan that answers the questions they’d normally solve with a model, photos, and a phone call. The more consistently you communicate, the fewer back-and-forth delays you’ll see.
-
Send context, not just files: shade photos, stump shade, adjacent tooth notes, and smile line cues for anterior cases.
-
Be explicit about expectations: contact tightness, occlusal scheme, margin preference, and material choice.
-
Use a repeatable Rx template: fewer “forgot to mention” moments.
-
Add pre-op scans when helpful: copying pre-treatment anatomy can speed design in certain workflows.
-
Review remake causes together monthly: treat remakes like data, not blame.
Data & Security: Treat Scans Like Health Records
Digital impressions are part of the patient record. That means your workflow should assume the files contain protected health information and handle them with the same care as other electronic health data—especially during storage and transmission.
-
Use secure transfer methods (trusted lab portals or approved systems) rather than casual file sharing.
-
Limit access by role: only team members who need scan data should have it.
-
Protect accounts: strong passwords and multi-factor authentication reduce risk.
-
Know where files live: scanner PC, cloud storage, PMS integration—map it so nothing is “mysteriously stored.”
-
Train the team: a great scanner protocol isn’t complete without a basic privacy protocol.
Stay Curious, Stay Current
Digital dentistry evolves fast, but you don’t need to chase every new feature. The practices that improve quickest do two things: keep software updated and build a culture of small, regular skill upgrades.
-
Schedule a monthly “scan huddle” (15 minutes): one win, one issue, one process tweak.
-
Keep software updated during planned downtime, not mid-clinic chaos.
-
Rotate training: assistants scan, doctors review, lab gives feedback—everyone gets sharper.
-
Save a “gold standard” case: use it to benchmark quality after updates or changes.
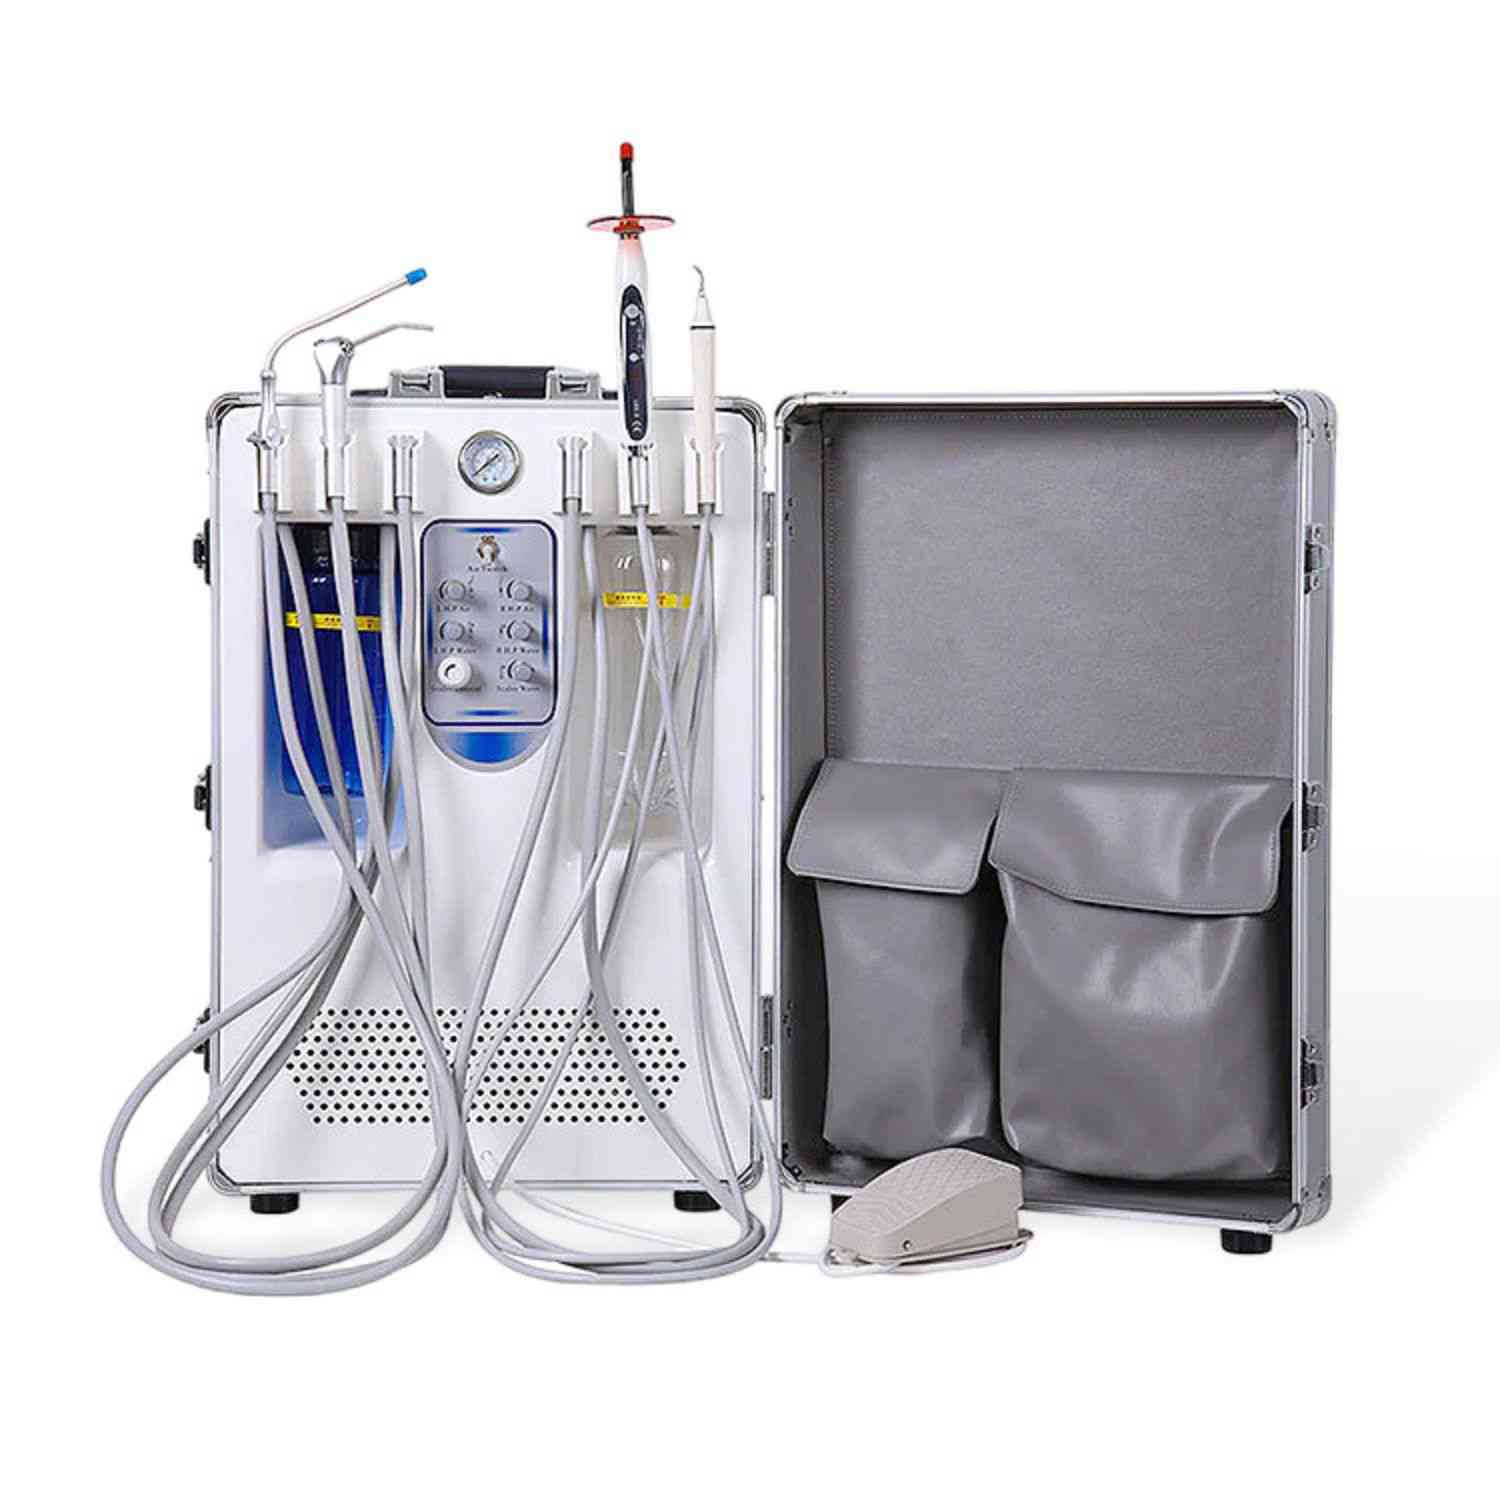
Gear Up with the Right Tools
Buying the newest scanner won’t solve technique gaps—but the right supporting tools do make great scans easier. Think of these as your “scan environment” upgrades.
-
Tissue management essentials: cords, paste systems, hemostatic agents (matched to your clinical preference).
-
Isolation helpers: cotton rolls, dry angles, high-volume suction, retraction aids.
-
Visibility boosters: mirrors, cheek retractors, anti-fog habits (and time for the wand to defog when needed).
-
Stability tools: bite blocks for longer scans or patients who struggle to stay open.
-
Maintenance supplies: whatever your manufacturer recommends for cleaning, tips, and calibration routines.
Quick-Start SOP (Print This for the Op)
If your practice wants consistency across multiple operators, a short SOP beats “tribal knowledge.” Keep it simple, measurable, and easy to coach.
-
1) Retract + control moisture (confirm margins are visible).
-
2) Scan opposing arch (only as much as needed for the case).
-
3) Scan the prep tooth first (capture the finish line with multiple angles).
-
4) Scan the prep arch segment (include adjacent contacts and occlusal landmarks).
-
5) Scan bite in centric (in an already-captured region).
-
6) Run the 60-second audit (table checklist).
-
7) Export correct format (confirm what your lab prefers: STL vs PLY/OBJ).
-
8) Send with Rx + photos (shade, stump shade, special requests).
Digital impressions reward the kind of dentistry that already works: good isolation, clear margins, and thoughtful communication. Once you lock in a repeatable scan routine—and treat QA as part of the procedure—your scans stop being “pretty pictures” and start becoming a reliable foundation for faster, better-fitting restorative work.