Light Curing Composite Resin: A Comprehensive Usage Guide
At ISTAR Dental Supply—proudly ranked among the top five dental supply companies in China—we believe the right product knowledge empowers dental professionals to deliver outstanding patient care. The following guide offers a 1000-word overview on how to effectively utilize light curing composite resin. Designed specifically for dentists, dental clinics, dental hospitals, and dental labs, this discussion aims to enhance your mastery of composite application, unravel common misconceptions, and help you get the most out of each restoration procedure.

1. Understanding Light Curing Composite Resin
Light curing composite resin is a modern restorative material widely used for direct fillings, veneers, and other clinical situations. When placed in a prepared tooth structure, this composite hardens upon exposure to a curing light, providing both aesthetic and functional restoration.
Key Features to Note:
- Photoinitiator System: Activated by a specific wavelength—often in the blue light spectrum generated by LED curing lights.
- Versatile Applications: Ideal for restoring anterior and posterior teeth.
- Better Aesthetics: Allows for customized shading to match the patient’s tooth color.
- Minimal Preparation: Unlike traditional amalgam, composite resin can bond better to tooth structure.
By capitalizing on these benefits, professionals can meet the increasing aesthetic and clinical demands of contemporary dentistry.
2. Essential Materials and Tools
Proper setup and instrumentation are crucial to achieving consistent, high-quality results with any composite procedure. Although some of the items and brand preferences will vary by practice, here are the fundamental tools you’ll need:
Materials Checklist
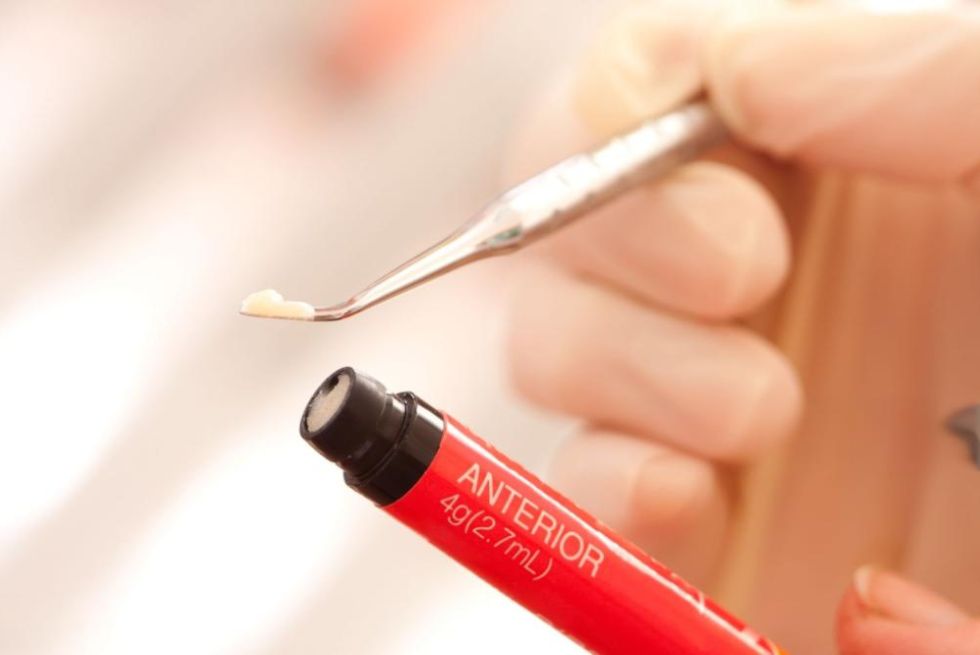
- Light curing composite resin (of desired shade and viscosity)
- Acid etchant (commonly phosphoric acid gel)
- Bonding agent or adhesive system
- Matrix system (if needed for Class II or III restorations)
- Dental Curing Light or advanced LED Curing Light
- Disposable applicator tips and microbrushes
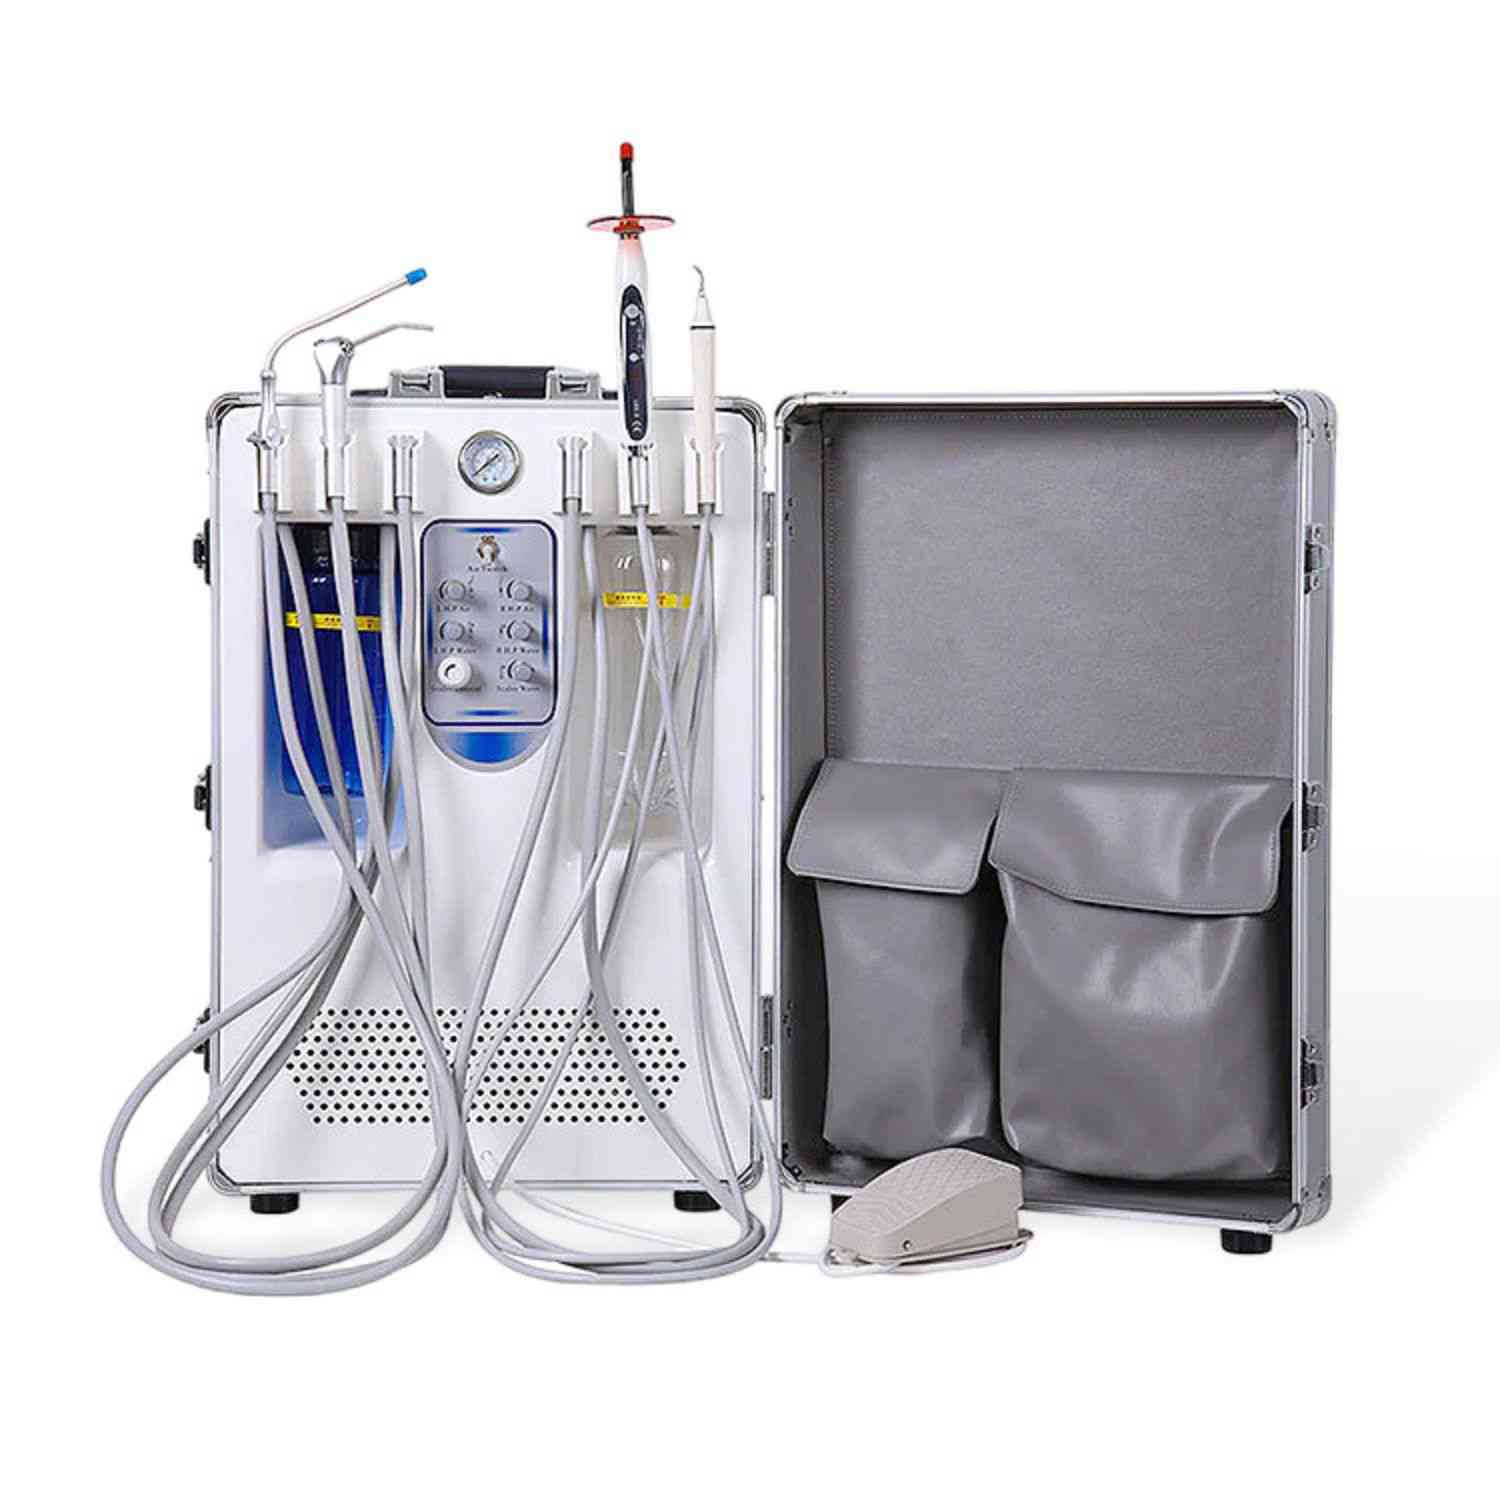
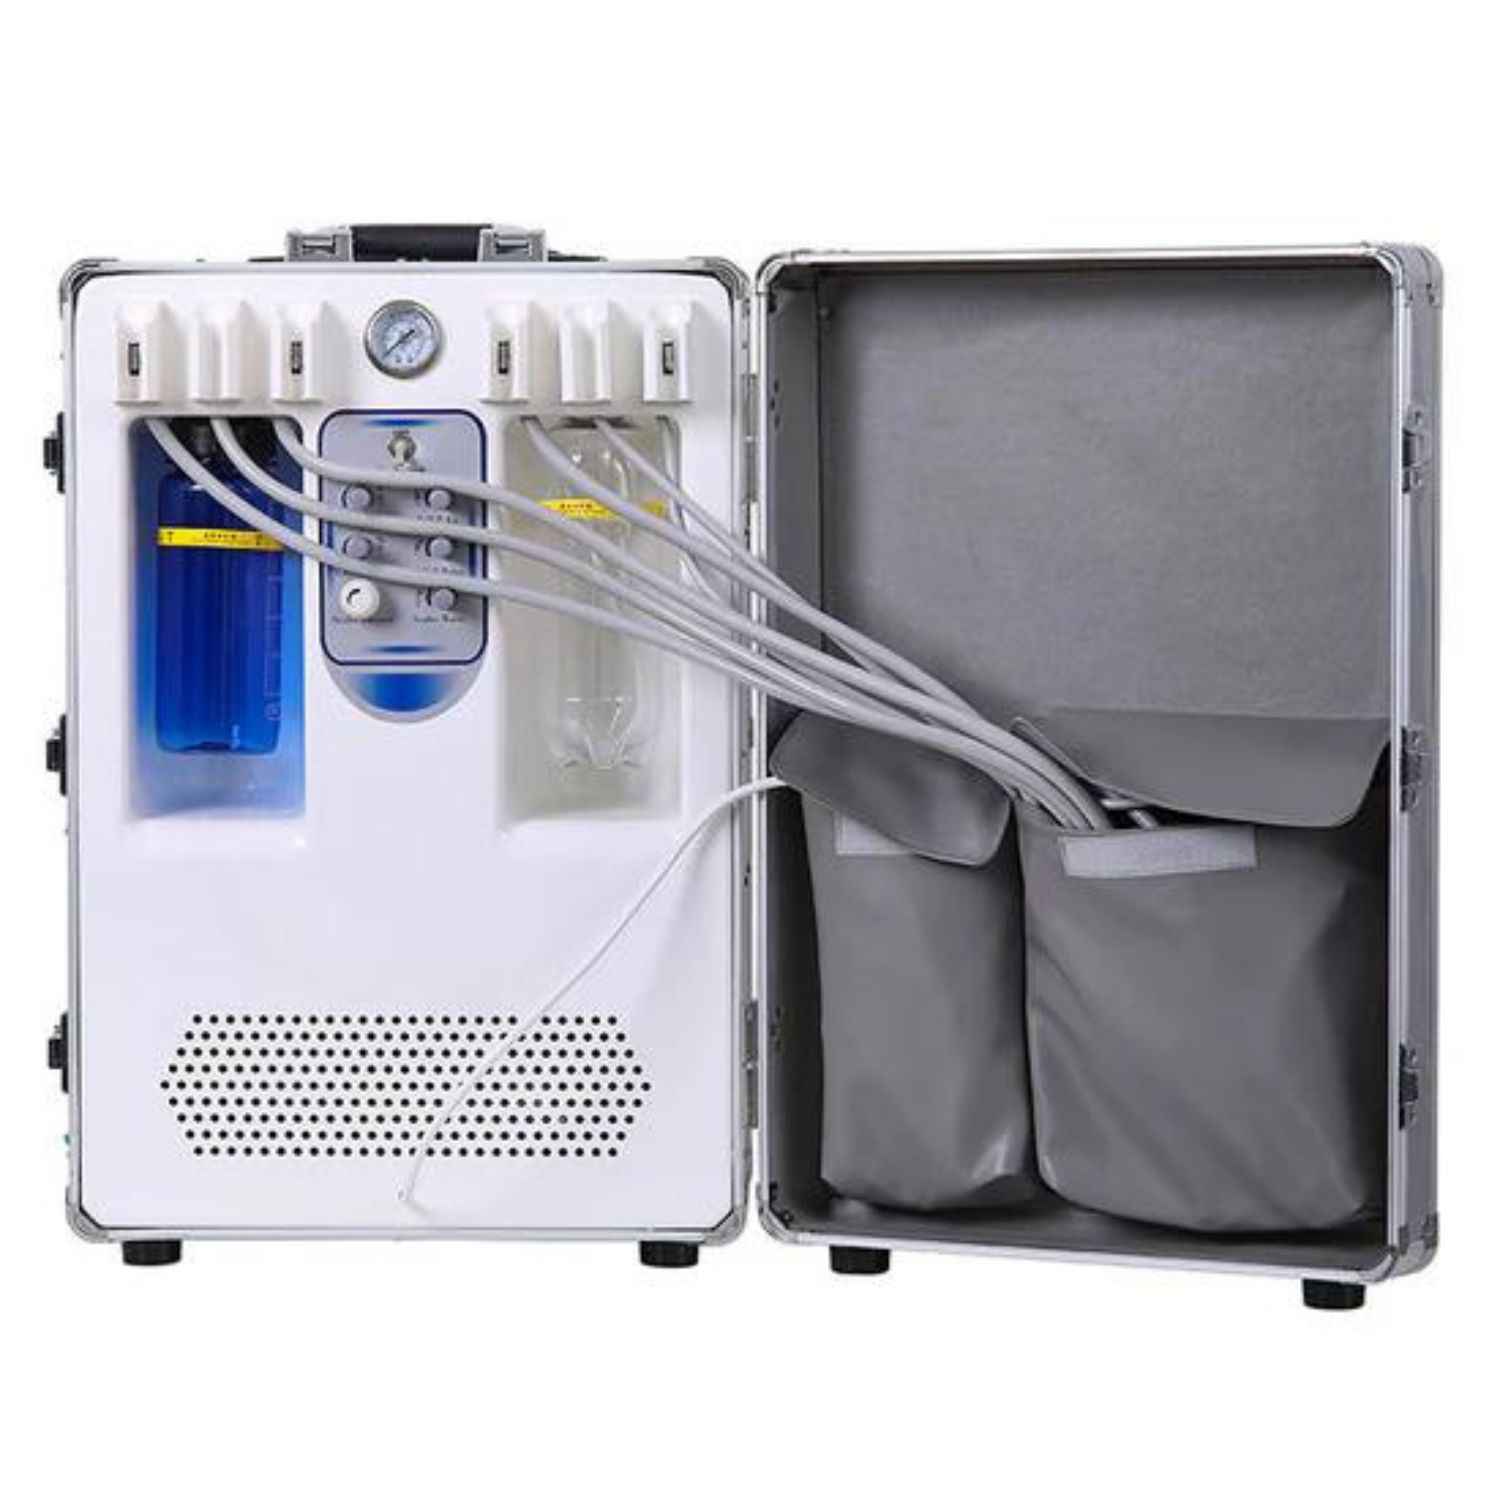
Pro Tip: ISTAR Dental Supply offers a robust portfolio of Dental Equipment tailored to meet diverse clinical scenarios. By coupling top-quality resin with the right equipment, you’ll streamline your workflow and reinforce positive treatment outcomes.
3. Step-by-Step Usage Guidelines
3.1 Preparing the Operatory
Before any procedure, ensure your dental unit, instruments, and composite kit are arranged in a sterile environment.
- Sterilize Instruments: Confirm that all implements are properly autoclaved or treated.
- Check Operation Lights: Good visibility is essential. If your setup requires a new overhead surgical lamp, consider exploring our Dental Chair or specialized Dental Light configurations for optimal illumination.
- Set Up the Curing Light: Verify battery or power readiness in the device. Adjust wavelength intensity if applicable.
3.2 Tooth Isolation and Cavity Preparation
Achieving a dry field is key to enhancing bonding:
- Use a rubber dam or cotton rolls for isolation.
- Clean and prepare the cavity or tooth surface following the recommended parameters—conserving as much tooth structure as possible.
3.3 Etching, Bonding, and Composite Placement
- Etching: Apply the phosphoric acid gel according to the manufacturer’s instructions (commonly 15–20 seconds). Rinse and lightly air-dry.
- Bonding: Use a high-grade bonding agent to coat the etched surface. Air-thin gently, then lightly cure the bonding agent for the recommended time.
- Composite Application: Place the composite resin in increments (usually 2 mm or less) to minimize polymerization shrinkage. Carefully shape and adapt each layer, ensuring no voids remain at the margins.
4. Common Misconceptions About Light Curing Composite Resin
Despite the routine use of composite resins, some misunderstandings persist in clinical practice:
-
Misconception #1: “More Intense Light Always Means Faster Cure.”
While high-intensity curing lights can polymerize material rapidly, excessive heat generation may compromise the pulp, especially in deep cavities. It’s more effective to follow the manufacturer’s recommendations regarding light output and exposure times. -
Misconception #2: “Any Light Source Can Cure All Composites Equally.”
Modern composites are formulated with specific photoinitiators that respond optimally to particular wavelength ranges, found in dedicated LED-based systems. For fewer incomplete cures, consider specialized units like Orthodontic Curing Lights or robust Dental Curing Light solutions. -
Misconception #3: “Polishing and Final Shaping Are Optional.”
Skipping or minimizing finishing and polishing can lead to plaque accumulation, surface staining, and compromised aesthetics. Thorough finishing ensures longevity and patient satisfaction.

5. Getting the Most Out of Composite Resin
5.1 Incremental Layering Technique
Strategic layering not only addresses shrinkage but also allows each layer to be individually contoured. This way, you can refine anatomy and color matching more accurately. Remember:
“In dentistry, attention to detail in layering is the cornerstone of a successful restoration.”
Incrementally curing each layer for the recommended duration based on your curing unit ensures optimal polymerization.
5.2 Proper Curing Times and Angles
Position your curing light tip as close to the composite surface as possible (about 1–2 mm away). Angle and maintain the beam perpendicular to the cavosurface for even dispersion of the light.
Table – Recommended Curing Times by Composite Resin Layer
| Composite Thickness | Curing Light Intensity | Recommended Curing Time |
|---|---|---|
| 1 mm layer | High (≥ 1000 mW/cm²) | 10–15 seconds |
| 2 mm layer | Medium (~ 800 mW/cm²) | 20 seconds |
| 2+ mm layer | Variable (< 800 mW/cm²) | 30+ seconds (or more) |
Note: Always consult your composite manufacturer’s guidelines to confirm exposure times.
5.3 Effective Polishing Protocol
Once the final layer of composite has been light-cured:
- Initial Contouring: Remove excess and contour the restoration with fine burs or discs.
- Smoothening: Use abrasive discs in ascending order of grit.
- High-Luster Finish: Apply polishing paste or rubber cups for a natural shine.
A polished restoration exhibits improved wear resistance and reduced plaque retention, ensuring both functionality and aesthetics.
6. Practical Storage and Handling Tips
- Avoid Heat Exposure: Storing composite resin at high temperatures can adversely alter its properties.
- Keep Away From Curing Lights: Premature exposure to ambient operatory lights might partially set the resin in the syringe.
- Close the Caps Tightly: Minimizes light and moisture contact, preserving shelf life.
Paying attention to product handling ensures the resin’s consistent performance and makes procedures more predictable. If you’re updating your equipment setups or environment, do check out our Dental Handpiece solutions at ISTAR Dental Supply to complement your workflow.
7. Advanced Techniques and Combined Treatments
7.1 Enhancing Orthodontic Procedures
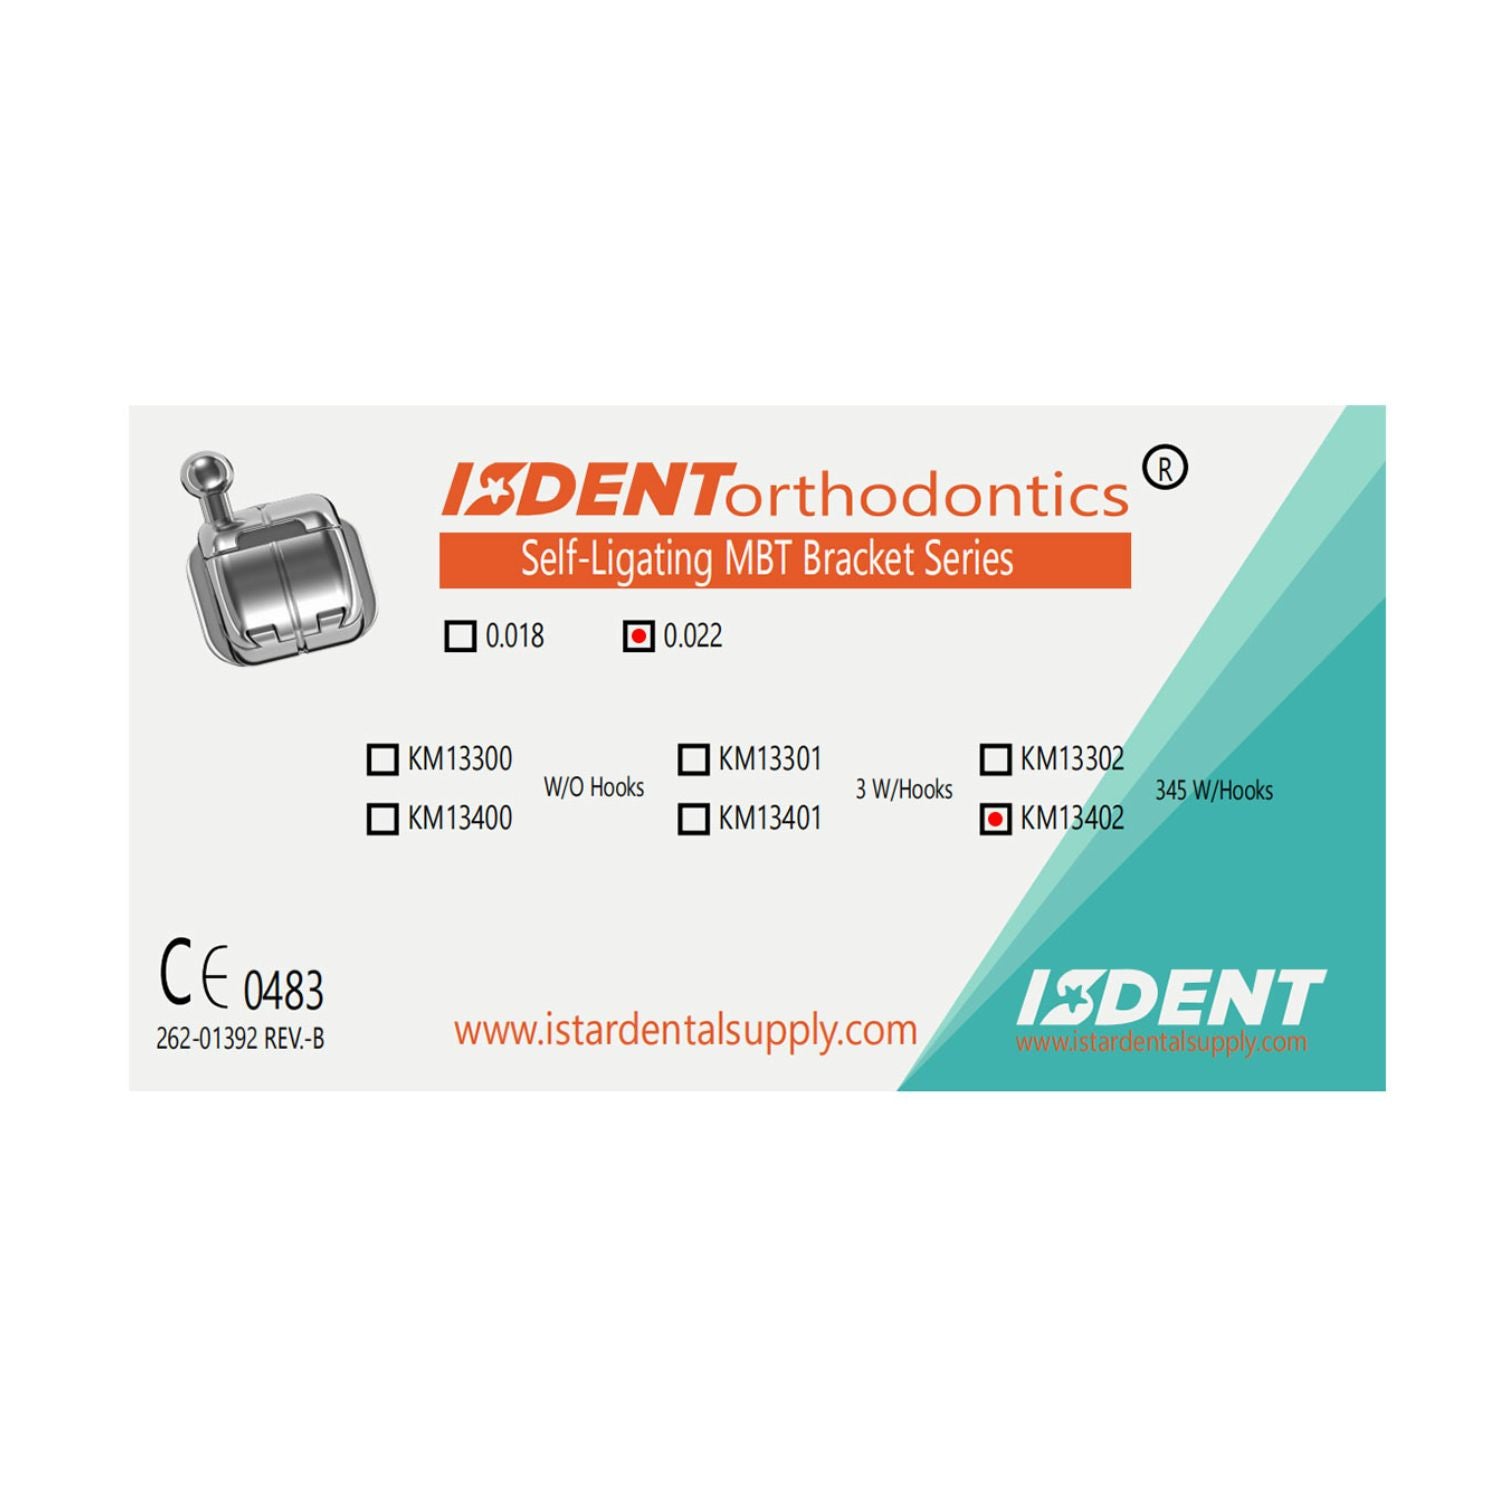
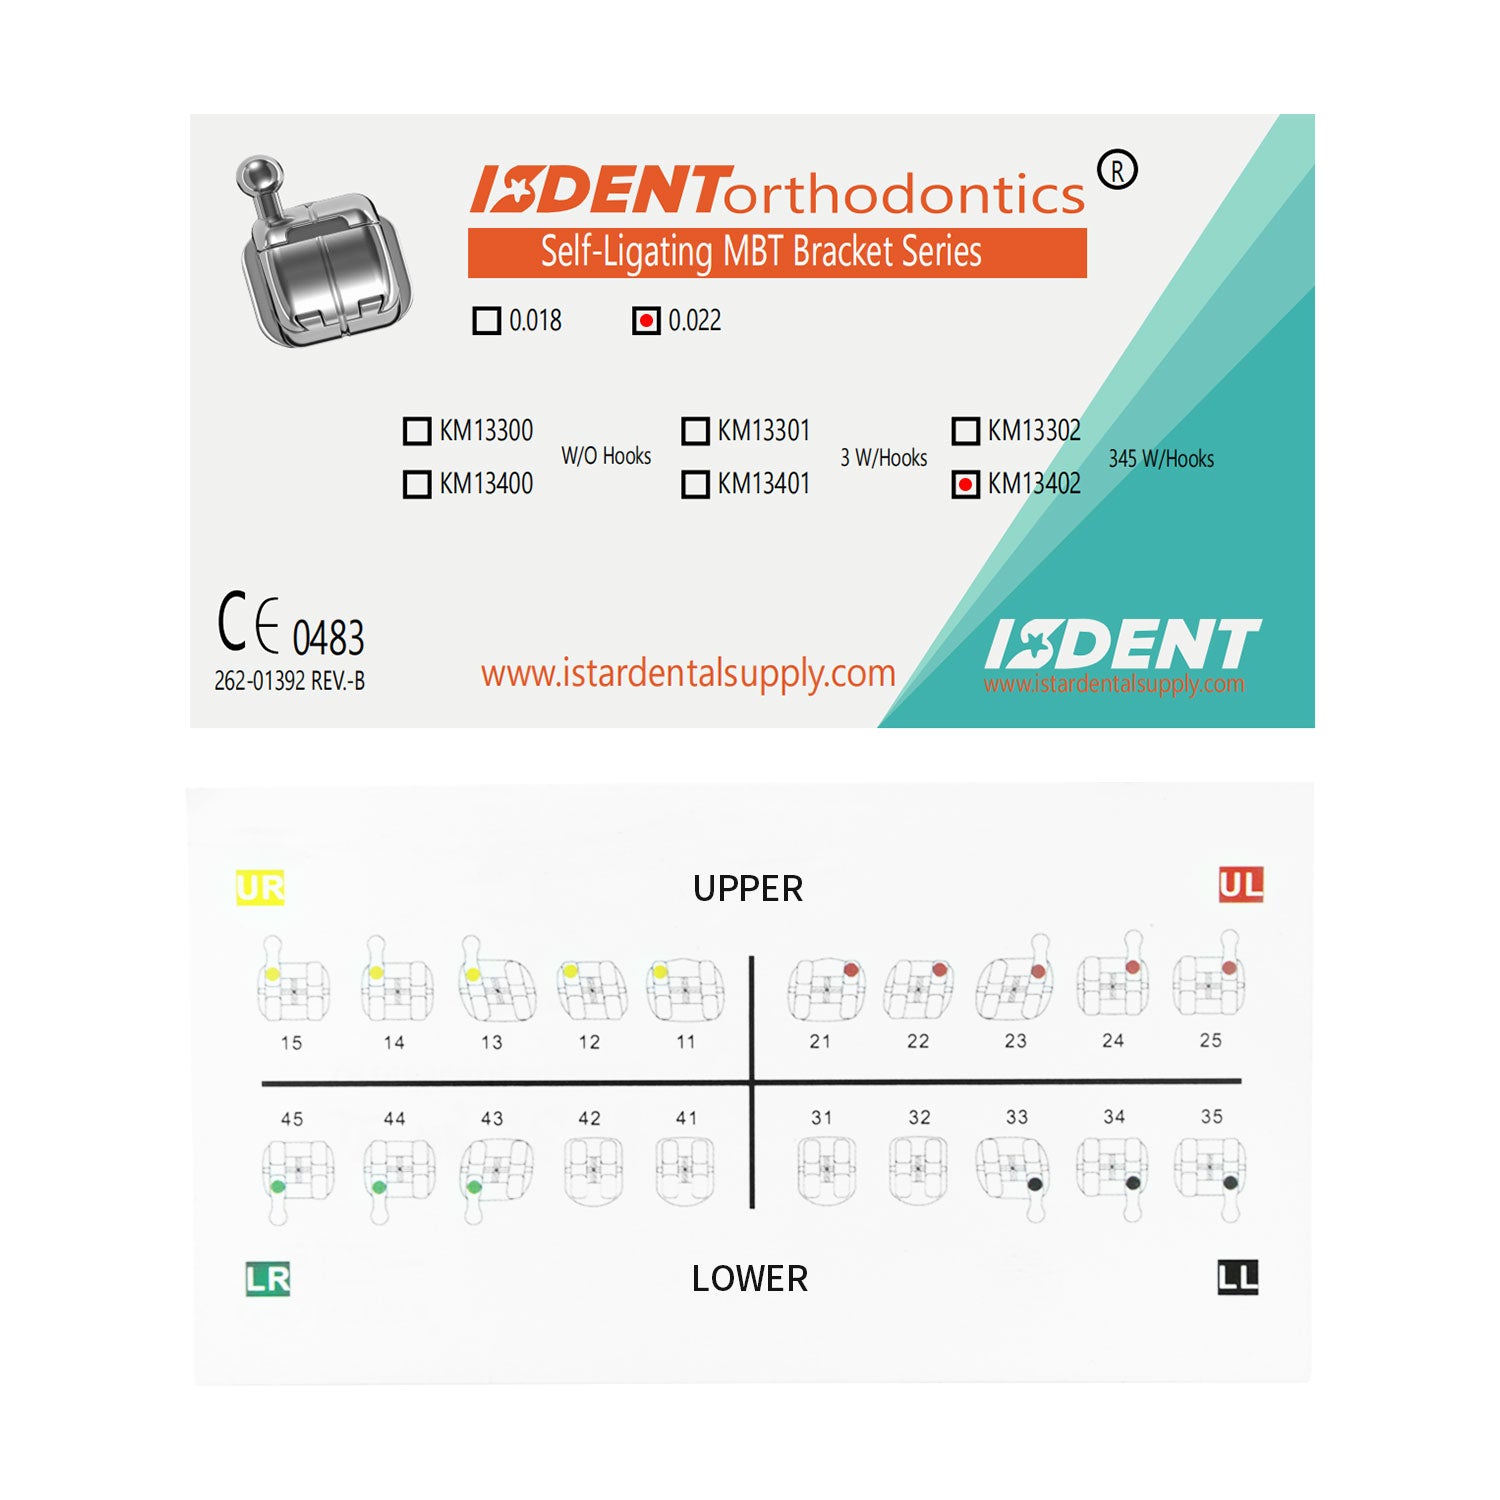
For those practicing orthodontics, light curing composite resin can be used for bracket bonding. When used in conjunction with the correct adhesive and Orthodontics supplies—including brackets, archwires, and other components—you can achieve strong engagement while maintaining efficient workflow.
7.2 Integrating with Restorative Devices
Modern dental unit technology often features built-in curing systems or advanced LED functionalities. If you’re considering an upgrade, a newly equipped Dental Unit can integrate seamlessly with your composite kit, ensuring compatibility and ergonomic ease.
8. Quotes from the Field
Dr. Evelyn Zhao, Prosthodontist: “Mastery of composite resin is about using the right equipment in conjunction with solid technique—once you have that harmony, the results speak for themselves.”
Dr. Marcus Lin, Cosmetic Dentist: “A well-cured composite is virtually indistinguishable from the natural tooth. That’s the real beauty of combining artistry with science.”
9. Conclusion
Efficient use of light curing composite resin depends on careful attention to preparation, etching and bonding protocols, incremental placement, and correctly timed curing. By understanding and avoiding common misconceptions—such as “brighter light is always better” or “polishing is optional”—dental practitioners can reap the full benefits of these versatile materials.
Whether you’re seeking advanced Dental Equipment, a new high-performance curing lamp, or stepping up your orthodontic game with specialized Orthodontics tools, ISTAR Dental Supply stands ready to support your practice. We’ve earned our place as a top 5 dental supply company in China by consistently focusing on innovative products, expert guidance, and unwavering commitment to quality.
Final Thought: A properly cured, well-finished composite restoration can make the difference between an average restorative outcome and a truly excellent one. Trust the process, invest in reliable equipment, and always stay updated with the latest techniques—and you’ll see the results in your satisfied patients and a more efficient, profitable practice.